

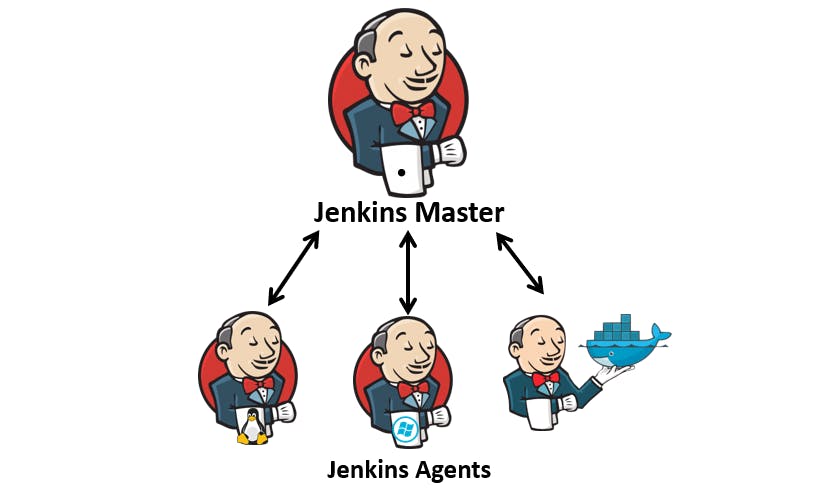
Jenkins Master :
In Jenkins, the term "Jenkins master" refers to the central controller or server that manages and coordinates the entire Jenkins system. It is the primary component responsible for scheduling and distributing build jobs, managing the configuration, and coordinating the activities of the Jenkins agents.
Jenkins Agent :
A Jenkins agent is a machine that performs the execution of build jobs in Jenkins. It requires a Java installation and a network connection to the Jenkins controller. Agents are responsible for tasks like checking out source code, compiling, testing, and deploying. They are assigned jobs by the Jenkins master and communicate with it to provide status updates and retrieve build instructions. Agents enable distributed and parallel execution of build jobs in Jenkins. When you trigger a Jenkins job from the master, the actual execution happens on the agent node that is configured in the job.
Working with a Node JS project using Jenkins Master and Agent :
First setup the master node using " this blog".
Create public-key and private-key on Master node :
ssh-keygen -t ed25519
Now we have to copy the public key from the master :
cd .ssh/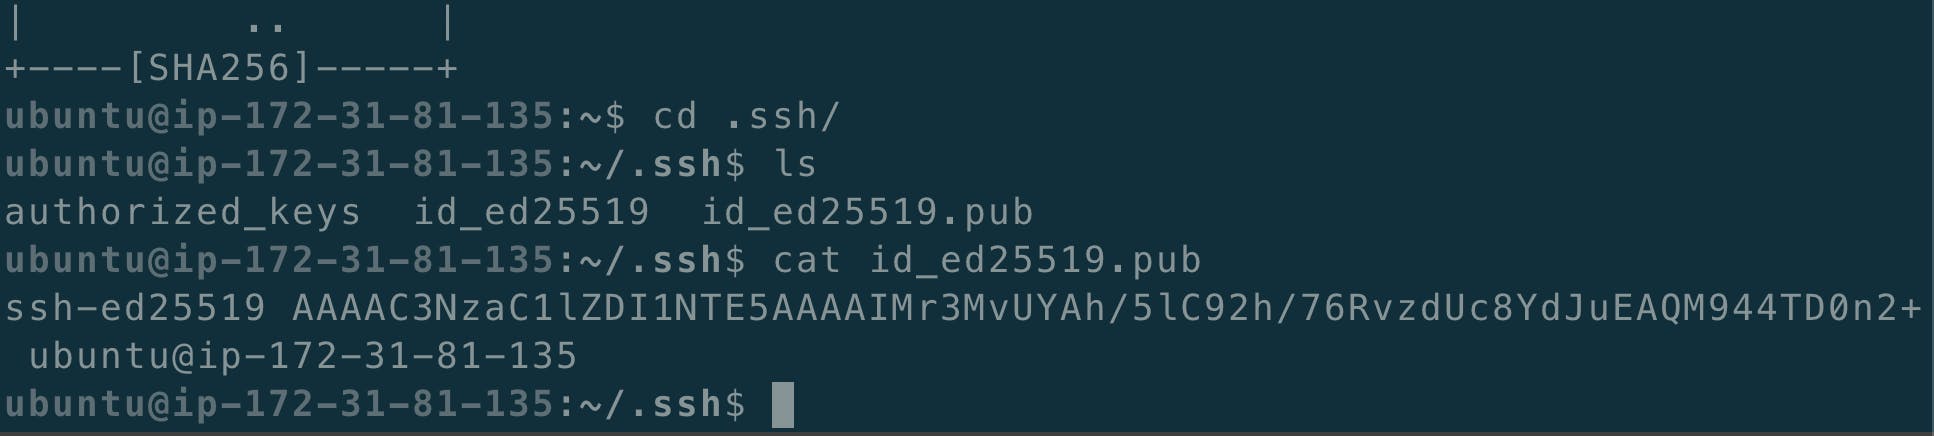
Create and connect to an EC2 instance for creating an agent node :


Now cd to .ssh/ and paste the public key in the authorized_keys :


Now Connect Master to Agent by writing the following commands in Master :
ssh ubuntu@< Public IP address >
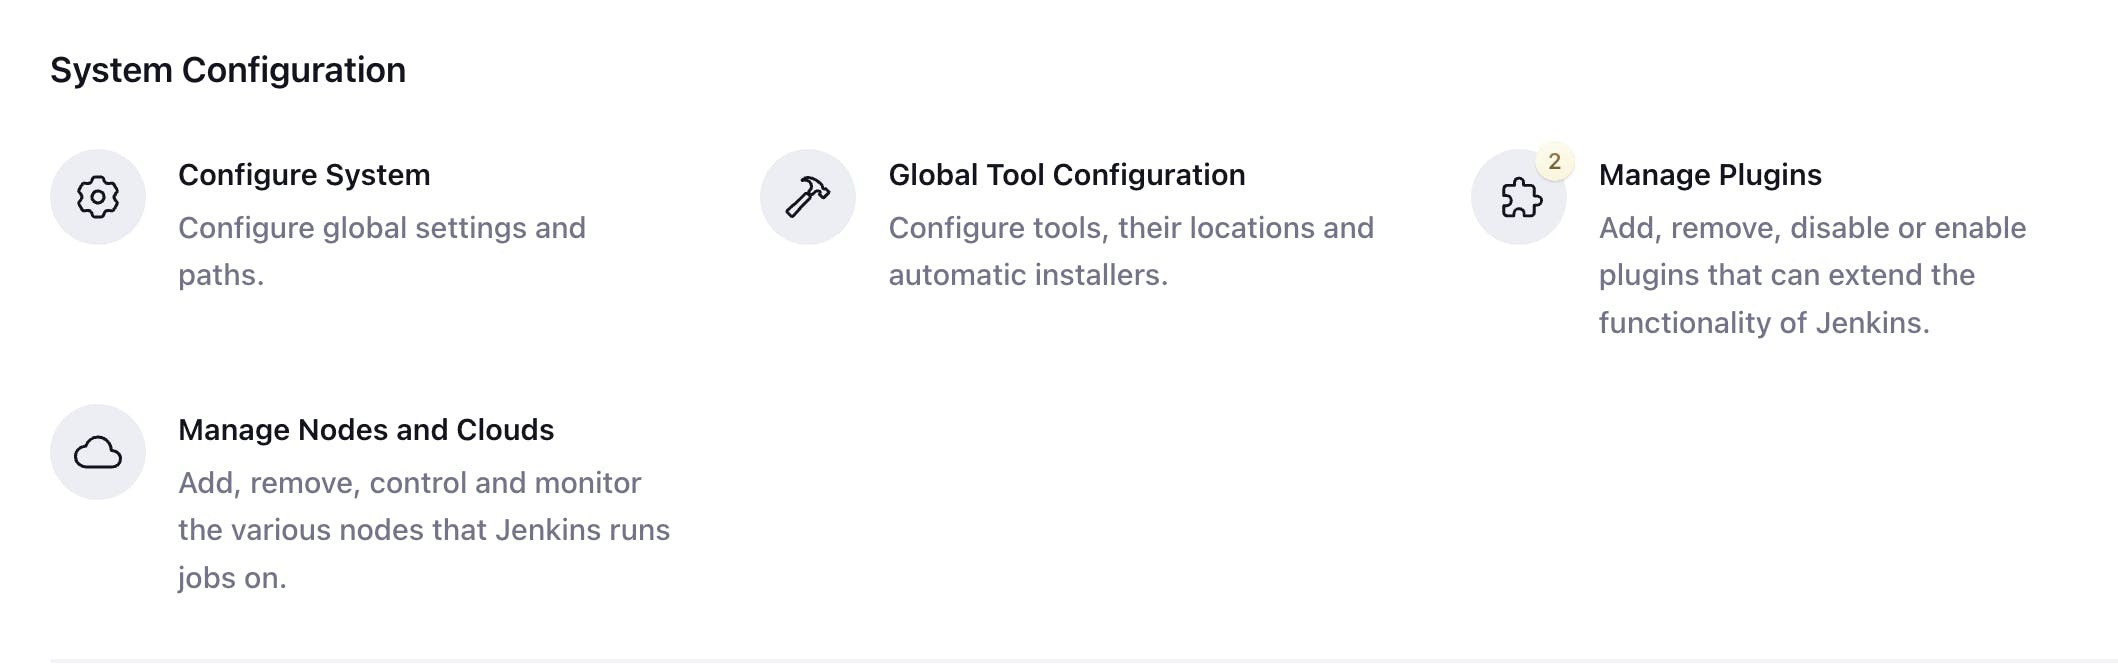
Now we have to configure Jenkins, go to Manage Jenkins and click on Manage nodes and Clouds:
Click on New Node and give the name and select the check box :

Now give the following specifications :


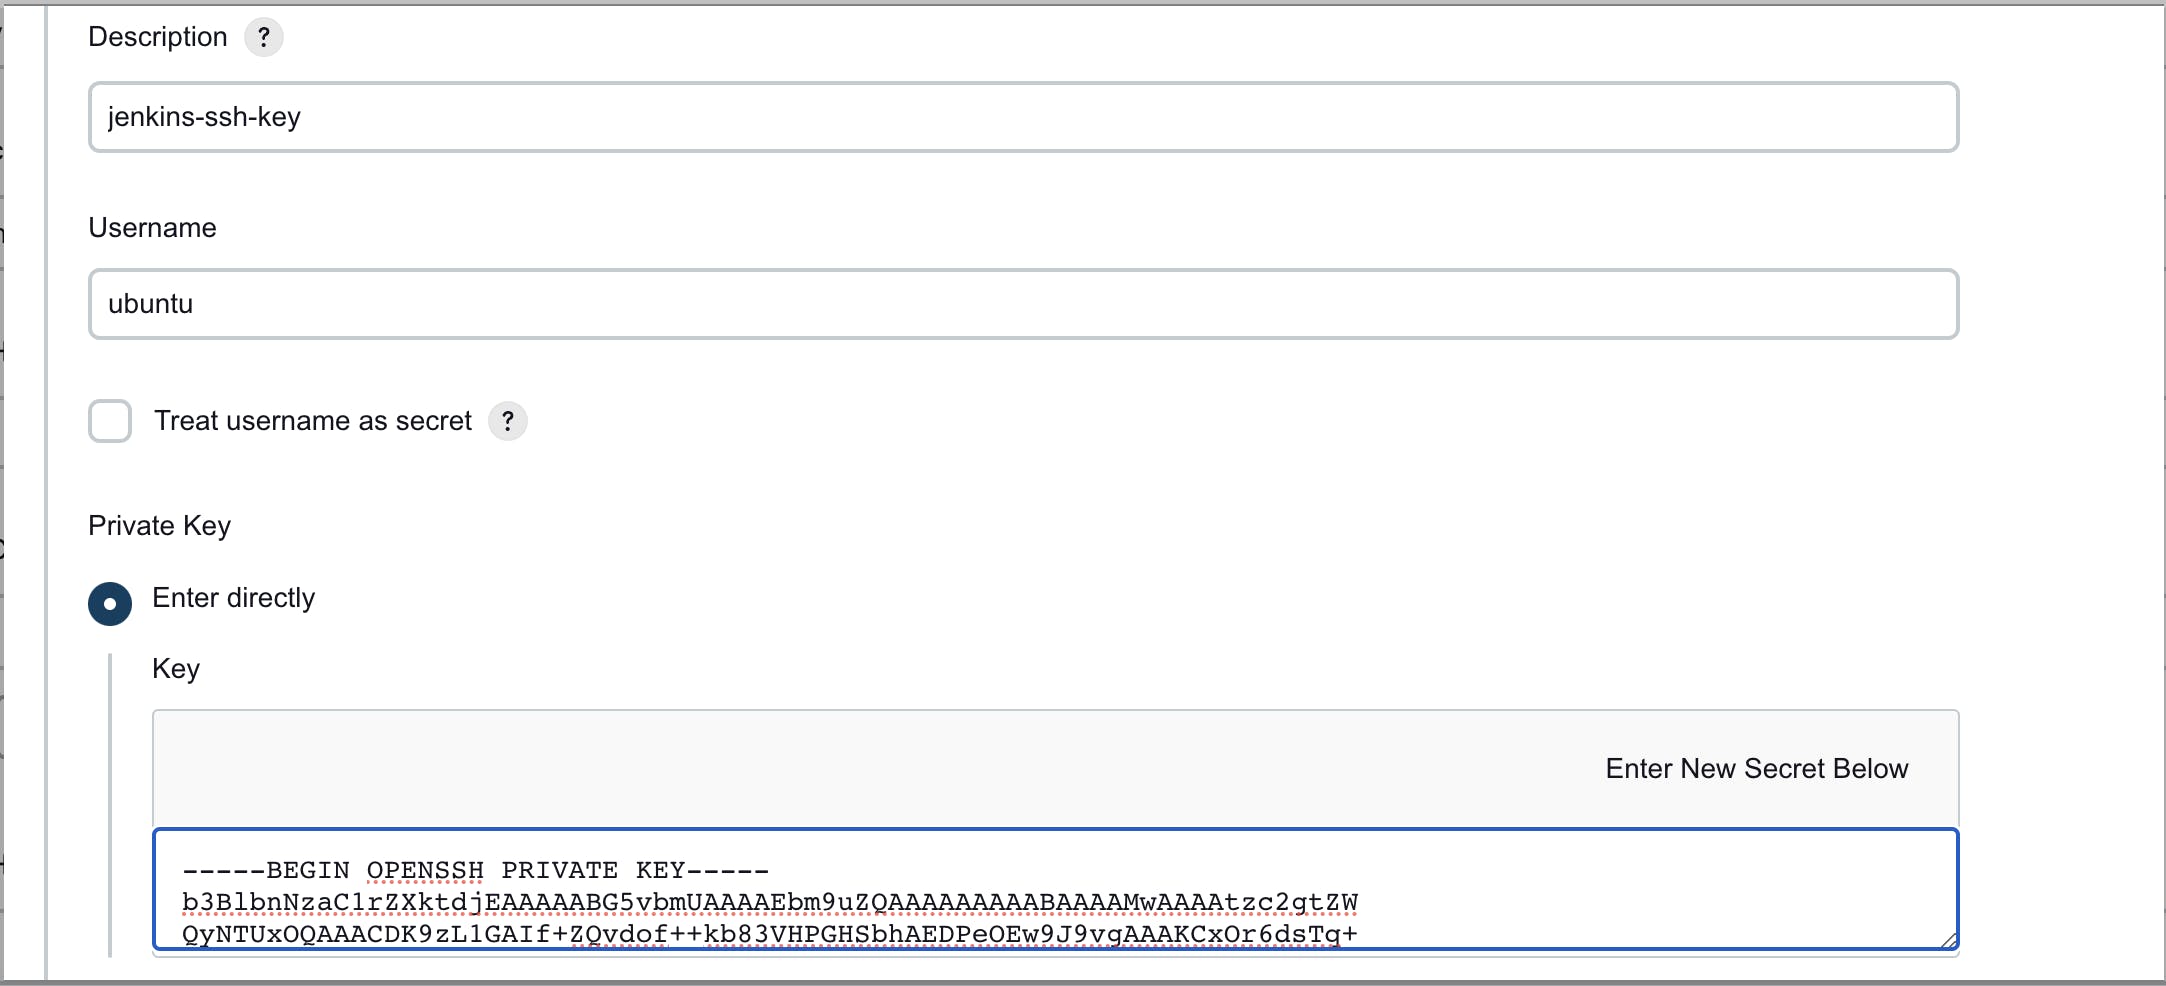
Create the credentials as follows :
In the private key box give the private key of the Master Node :
Now select Non verifying Verification Strategy and save :

You will see this :


It is showing offline because the Agent does not have Java installed on it.
Now install Java on Agent node :
sudo apt update
sudo apt install openjdk-11-jre
Now go to the agent and click on Launch :


Now, follow this blog to create the Declarative pipeline :
NOTE :
1) You will have to install docker and docker-compose. To install docker follow this link, after that type the command given below to install docker-compose on agent.
sudo apt-get install docker-compose2) Create the credentials in Jenkins Master Node for dockerHub, refer this blog.
3) The declarative pipeline code from this blog will be modified at the "agent" part, it will contain the label "dev-server" as specified in the above steps:
pipeline {
    agent { label "dev-server"}
    stages {
        stage("Clone Code") {
            steps {
                echo "Clone the Code"
                git url: "https://github.com/GJS2162/node-todo-cicd.git",
                branch: "master"
            }
        }
        stage("Build and Test") {
            steps {
                echo "Build and Test"
                sh "docker build . -t node-proj"
            }
        }
        stage("Push to DockerHub") {
            steps {
                echo "Here we will write code to push the image to Dockerhub by using withCredentials"
                withCredentials([usernamePassword(credentialsId:"dockerHub",passwordVariable:"dockerHubPass",usernameVariable:"dockerHubUser")]){
                sh "docker image tag node-proj ${env.dockerHubUser}/node-proj:latest "
                sh "docker login -u ${env.dockerHubUser} -p ${env.dockerHubPass}"
                sh "docker push ${env.dockerHubUser}/node-proj:latest"
            }
            }
        }
        stage("Deploy") {
            steps {
            echo "Deploying to the server"
                sh "docker-compose -f docker-compose.yaml down"
                sh "docker-compose -f docker-compose.yaml up -d"

                }
        }
    }
}
4) Make sure you have the right configuration for the docker-compose.yaml file and you have provided the correct docker hub repository name.

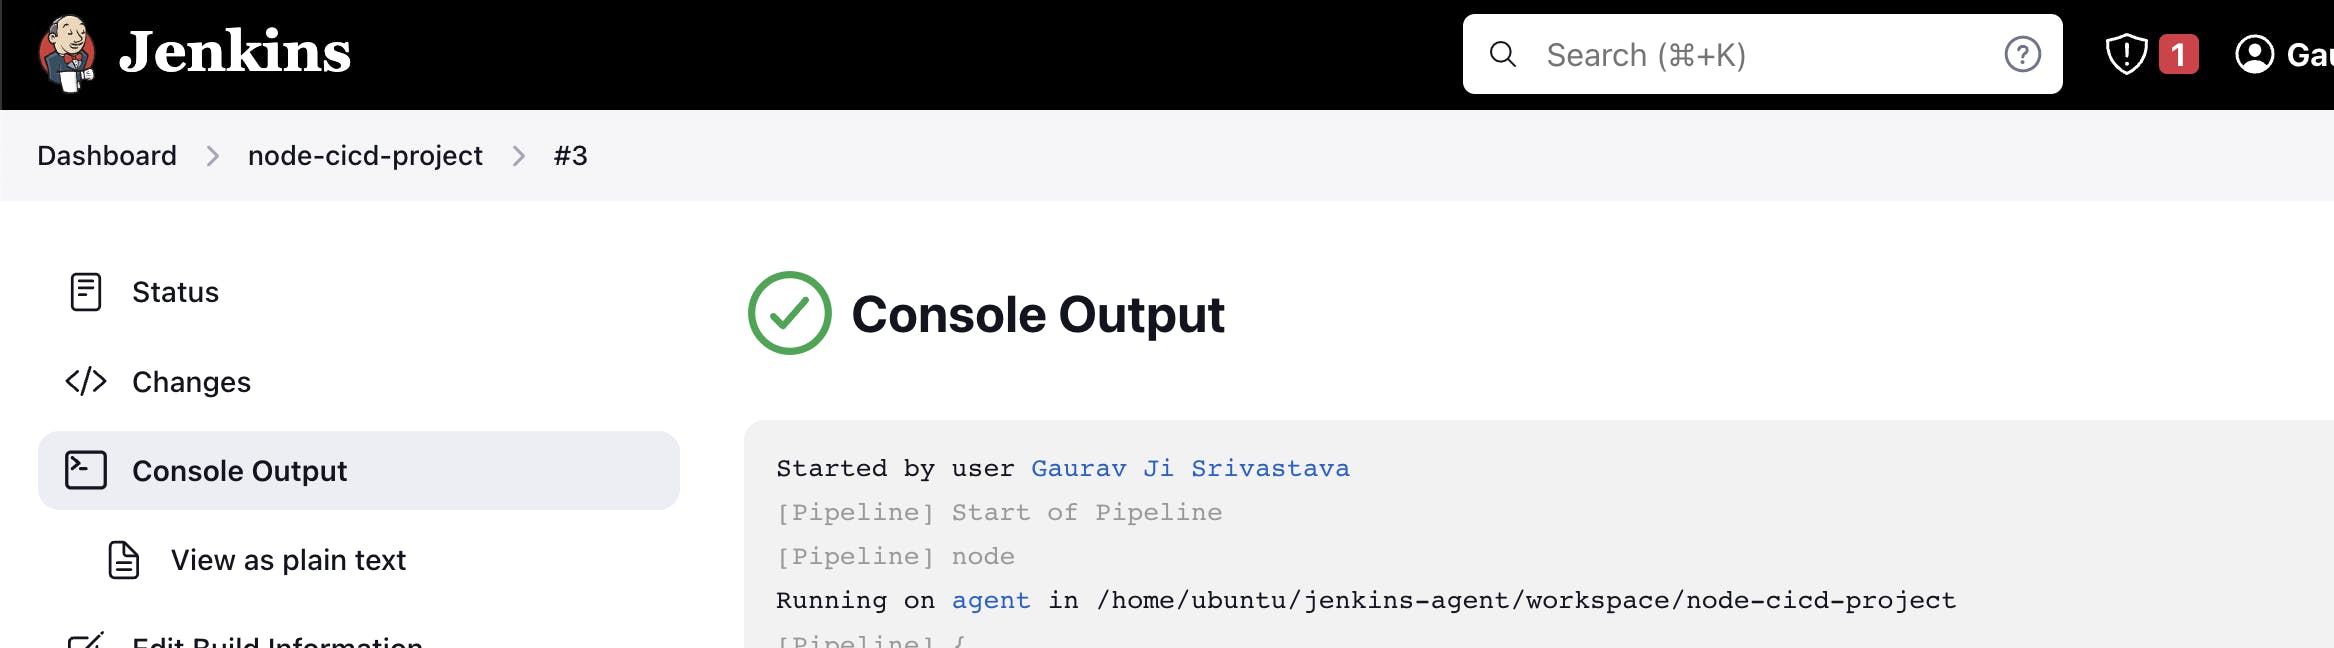
5) Now after clicking on the Build Now button, you will see that the agent was triggered :
6) Now make sure you have opened connectivity for port 8000 on the Agent instance :

7) Now go to the browser and type < Public IP address of the agent node>:< Port number on which the app is running>

Thank you :
Dear readers,
I want to express my heartfelt gratitude for your continuous support and engagement with my blog. Your readership and valuable feedback have been instrumental in shaping the content and direction of my writing. Thank you for being a part of this journey and for inspiring me to keep sharing my thoughts and ideas. Your presence means the world to me, and I am truly grateful for your unwavering support.
Warmest regards, Gaurav Ji Srivastava