


Table of contents
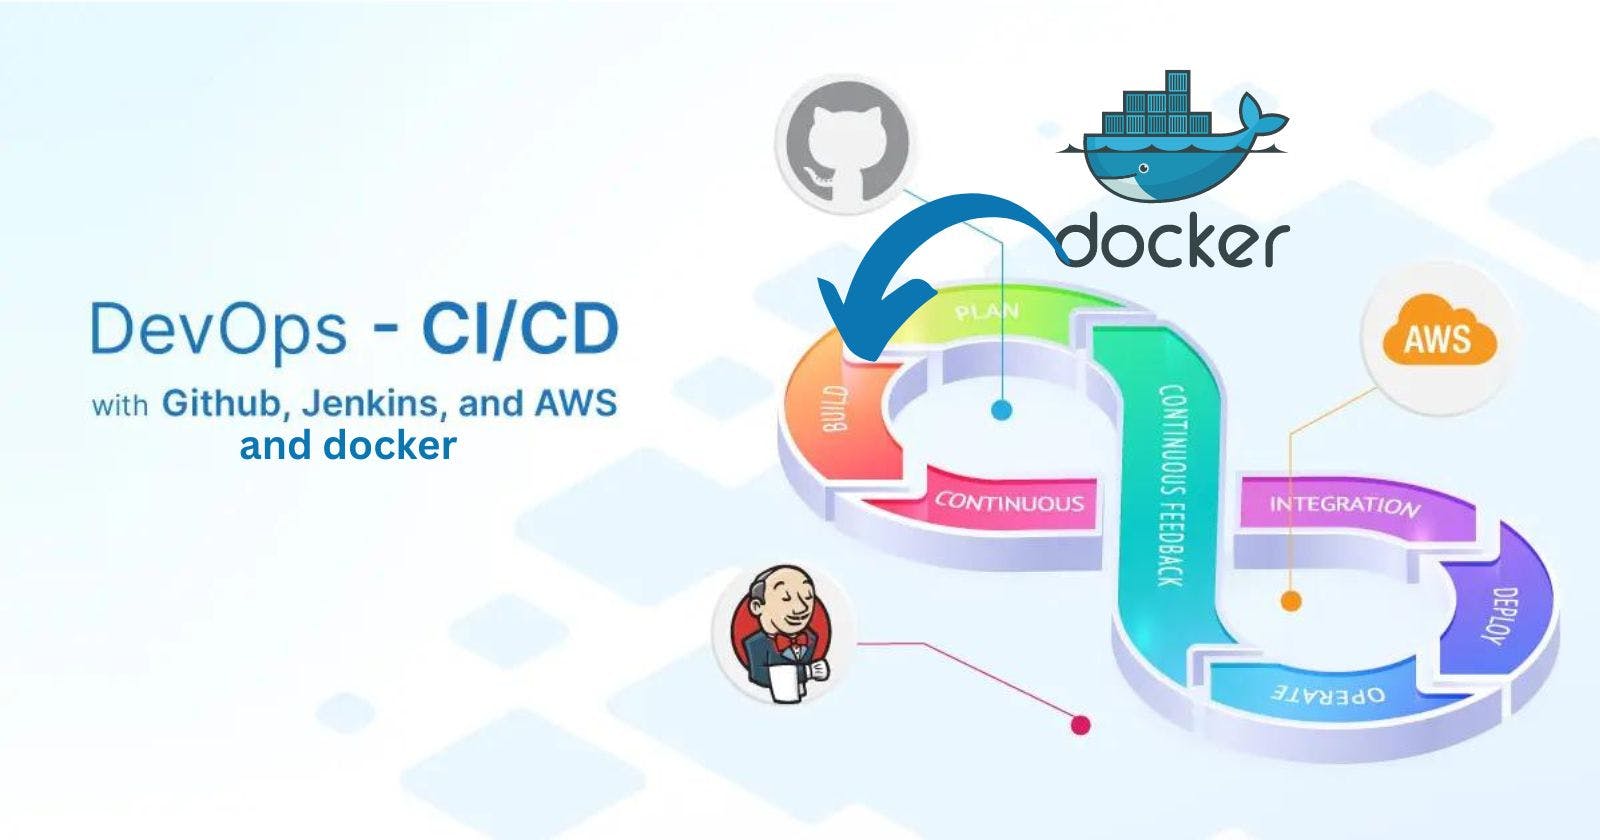
- What is CI/CD :
- What is Jenkins?
- What is a Build Job :
- What is a Jenkins Freestyle Project :
- Installing Jenkins on Amazon EC2 :
- Installing Java:
- Installing Jenkins :
- Working on a Freestyle Django Project :
- Webhooks :
- What is Jenkins Pipeline?
- Declarative pipeline :
- Working on a Node.js project with a declarative pipeline :
- Create a new item with the following details :
- Follow the steps to create a GitHub Webhook:
- Follow the steps to make Credentials for dockerhub:
- Writing the declarative pipeline:
- Thank you :
What is CI/CD :
Continuous Integration (CI): Continuous Integration involves integrating code changes from multiple developers into a shared repository regularly. This process is typically facilitated by using version control systems like Git. With CI, developers can merge their changes frequently, allowing for early detection of integration issues and conflicts.
Continuous Delivery (CD): Continuous Delivery focuses on automating the release and deployment of software to production environments. It involves automating the build, testing, and deployment processes to ensure that changes are deployed to production quickly and reliably. CD pipelines often include steps such as building the application, running tests, packaging artefacts, deploying to staging environments, and ultimately deploying to production.
Continuous Deployment (CD): Continuous Deployment refers specifically to the automated release and deployment of software to production environments. In this stage, the CD pipeline continues from the Continuous Delivery phase by automatically deploying the prepared and tested artefacts to the production environment. This ensures a seamless and rapid deployment process without manual intervention.
To summarize, the CI process focuses on integrating code changes, the CD process encompasses both continuous delivery and deployment, and the CD phase specifically involves the automated release and deployment of software to production environments. Together, these practices enable developers to integrate their code changes efficiently, ensure the readiness of software for deployment, and automate the deployment process to rapidly deliver new features and updates to end-users.
What is Jenkins?
Jenkins is a self-contained, open-source automation server that can be used to automate all sorts of tasks related to building, testing, and delivering or deploying software.
Jenkins can be installed through native system packages, Docker, or even run standalone by any machine with a Java Runtime Environment (JRE) installed.
What is a Build Job :
A build job in Jenkins is a task that focuses on compiling, testing, and packaging software projects.
It involves executing build scripts or commands to transform source code into executable artefacts.
There are different types of build jobs, including regular builds triggered by code changes, scheduled builds at specific intervals, and parameterized builds with user-defined inputs.
Maven projects use Maven build jobs that handle dependency management and build lifecycle phases.
Freestyle build jobs offers flexibility with custom build steps and configurations.
Pipeline build jobs define builds using Jenkins Pipeline, allowing for complex workflows and stages.
Build jobs generate build artefacts, such as executables, libraries, or deployment packages, that can be further utilized in the CI/CD pipeline.
What is a Jenkins Freestyle Project :
A freestyle project in Jenkins is a highly flexible job type that allows users to customize the build process.
It offers complete control over the configuration, including build triggers, parameters, and post-build actions.
Build steps can be added and customized, enabling the execution of shell commands, batch scripts, or utilizing built-in plugins.
Freestyle projects do not follow a specific pipeline structure and do not require scripting like Jenkins Pipeline.
They are suitable for simple build requirements, providing users with easy configuration options and plugin integrations.
Installing Jenkins on Amazon EC2 :
Installing Java:
Update the system:
sudo apt update
Install OpenJDK 11 :
sudo apt install openjdk-11-jre
Check the Java version :
java -version
Installing Jenkins :
- Use the curl command shown below :
curl -fsSL https://pkg.jenkins.io/debian-stable/jenkins.io-2023.key | sudo tee \
  /usr/share/keyrings/jenkins-keyring.asc > /dev/null

- Use the echo command shown below :
echo deb [signed-by=/usr/share/keyrings/jenkins-keyring.asc] \
  https://pkg.jenkins.io/debian-stable binary/ | sudo tee \
  /etc/apt/sources.list.d/jenkins.list > /dev/null

- Update the system :
sudo apt-get update

- Install Jenkins :
sudo apt-get install jenkins

- Check the status of Jenkins :
systemctl status jenkins

Now create a new inbound rule for the instance in the security group with the port number 8080 :

Check the public IP address of the instance :
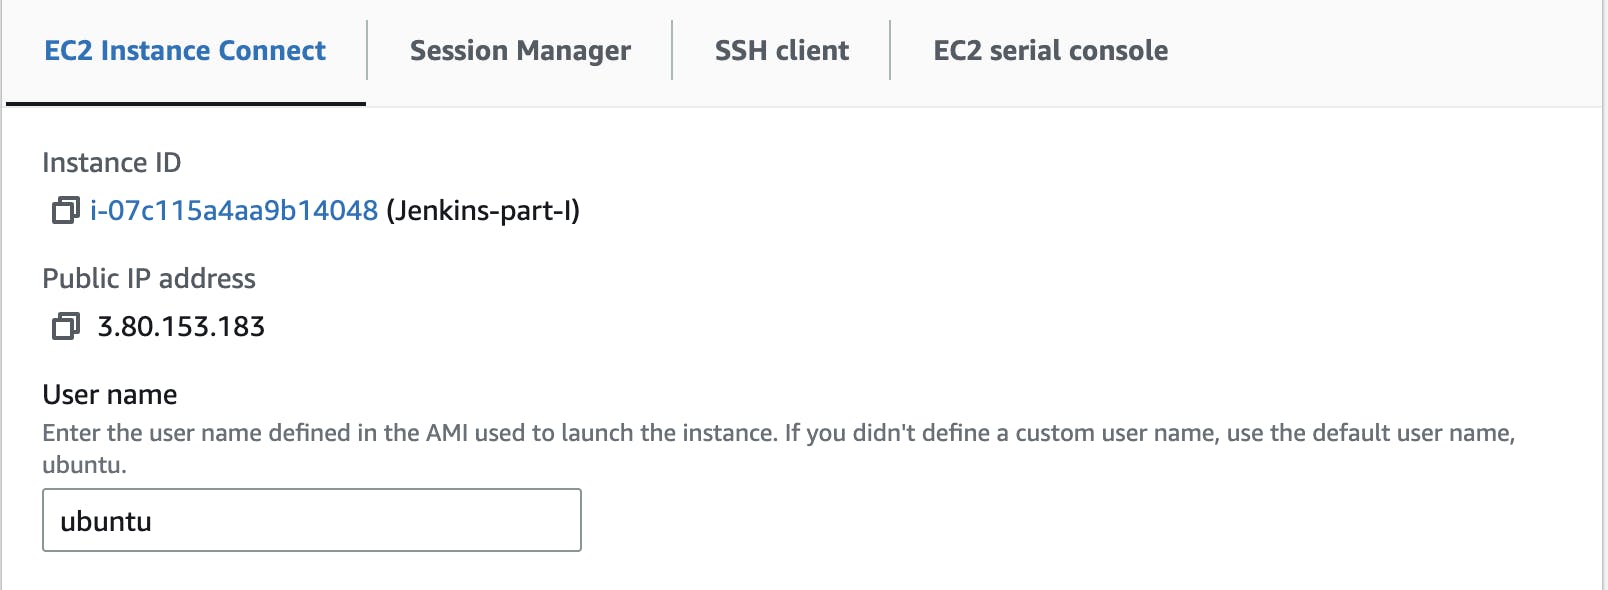
Now go to the browser and type <Public IP address>:8080
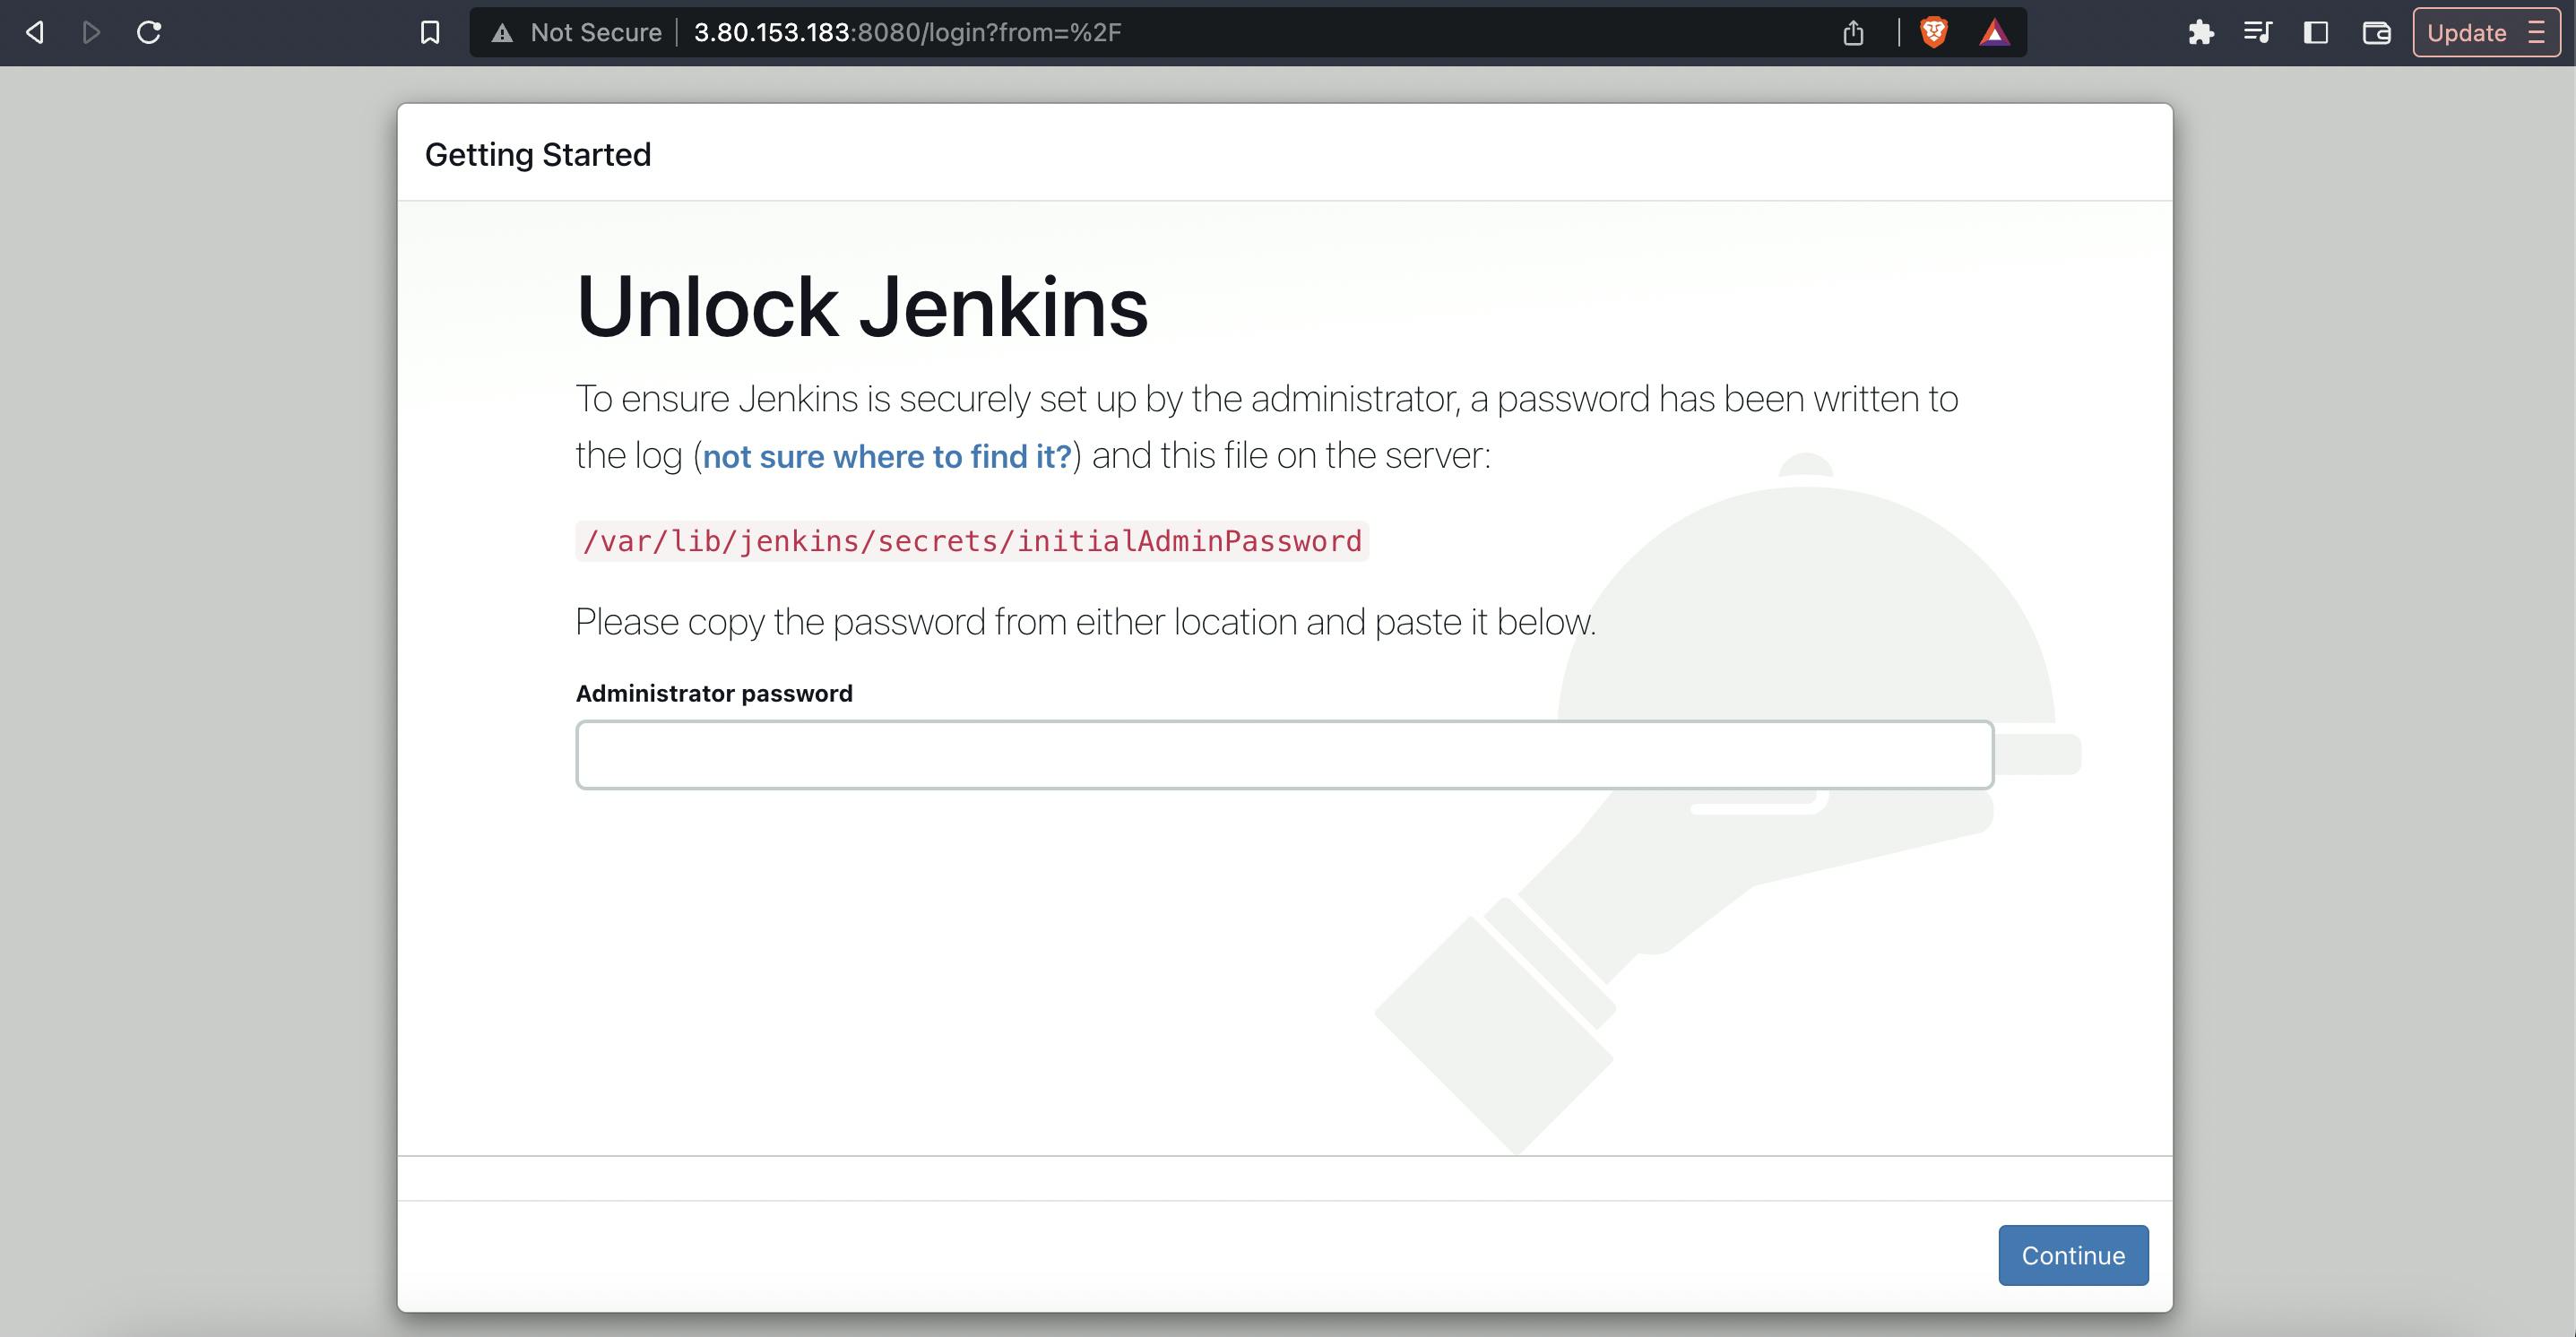
Now to see the password, type :
sudo cat /var/lib/jenkins/secrets/initialAdminPassword
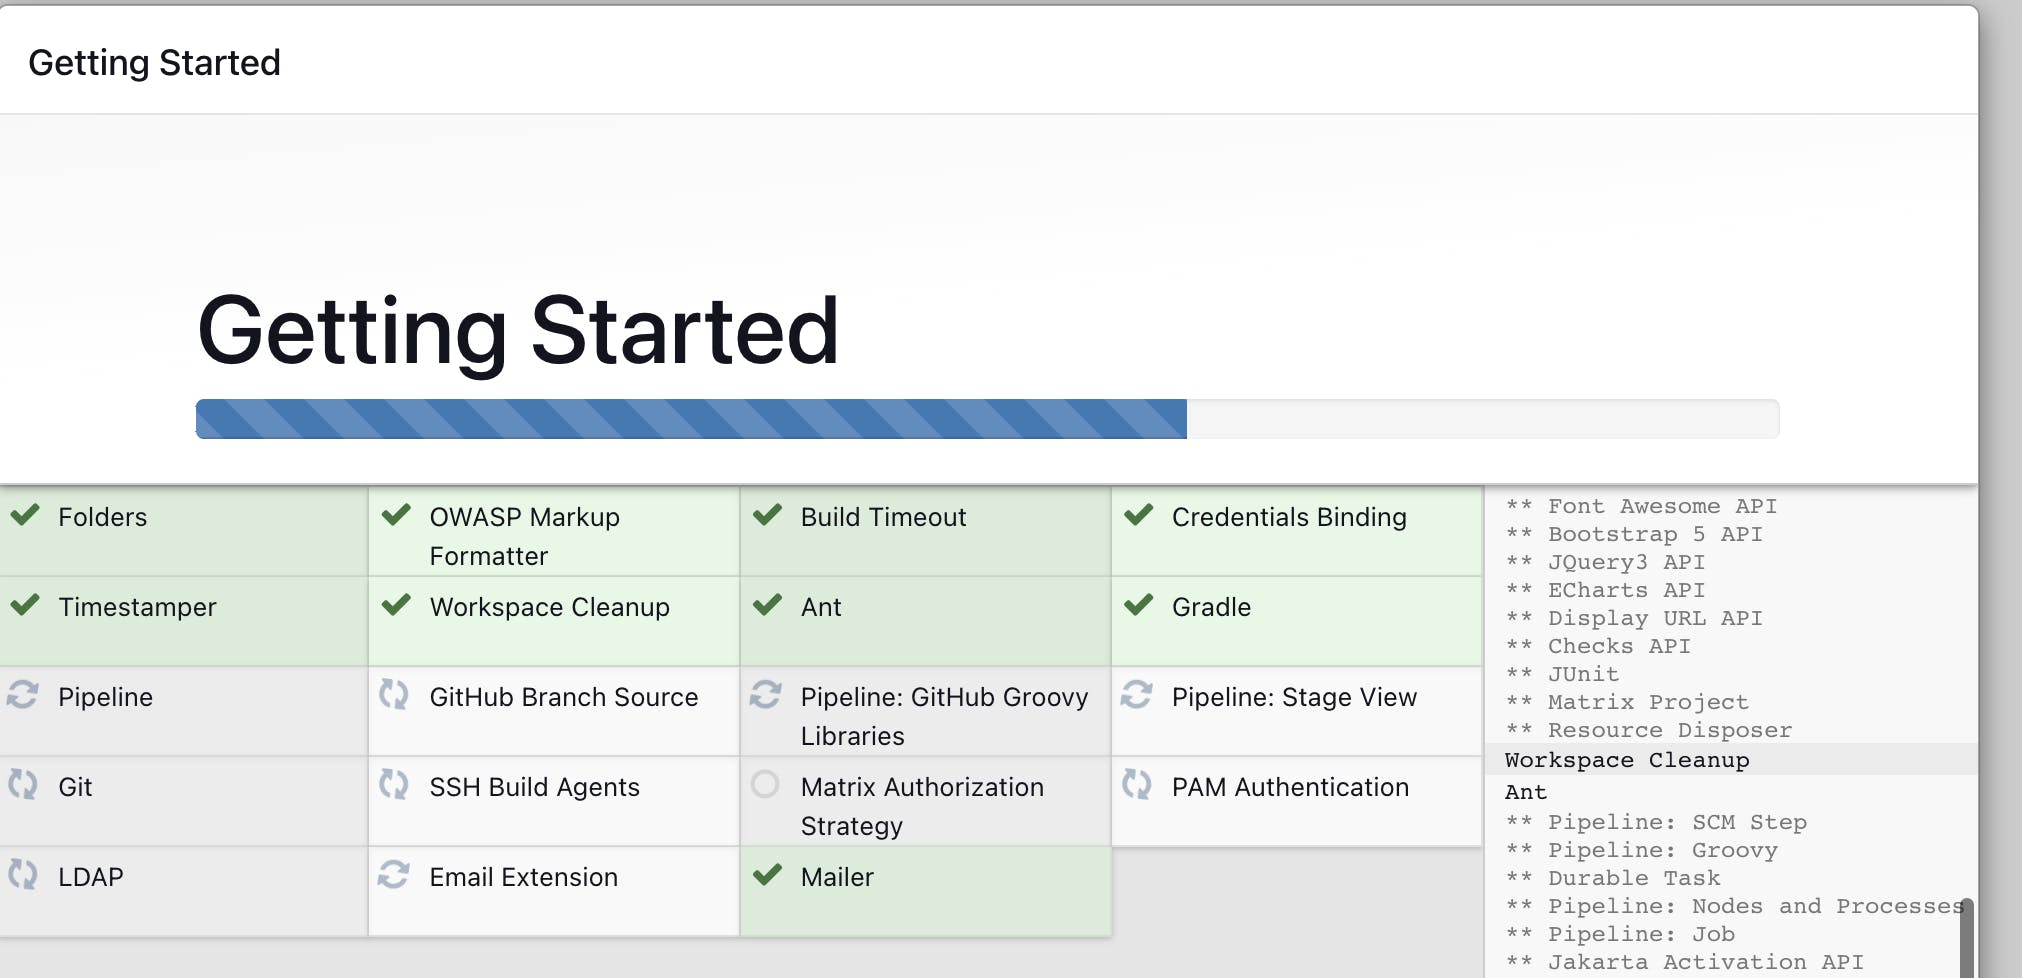
Now follow the installation :

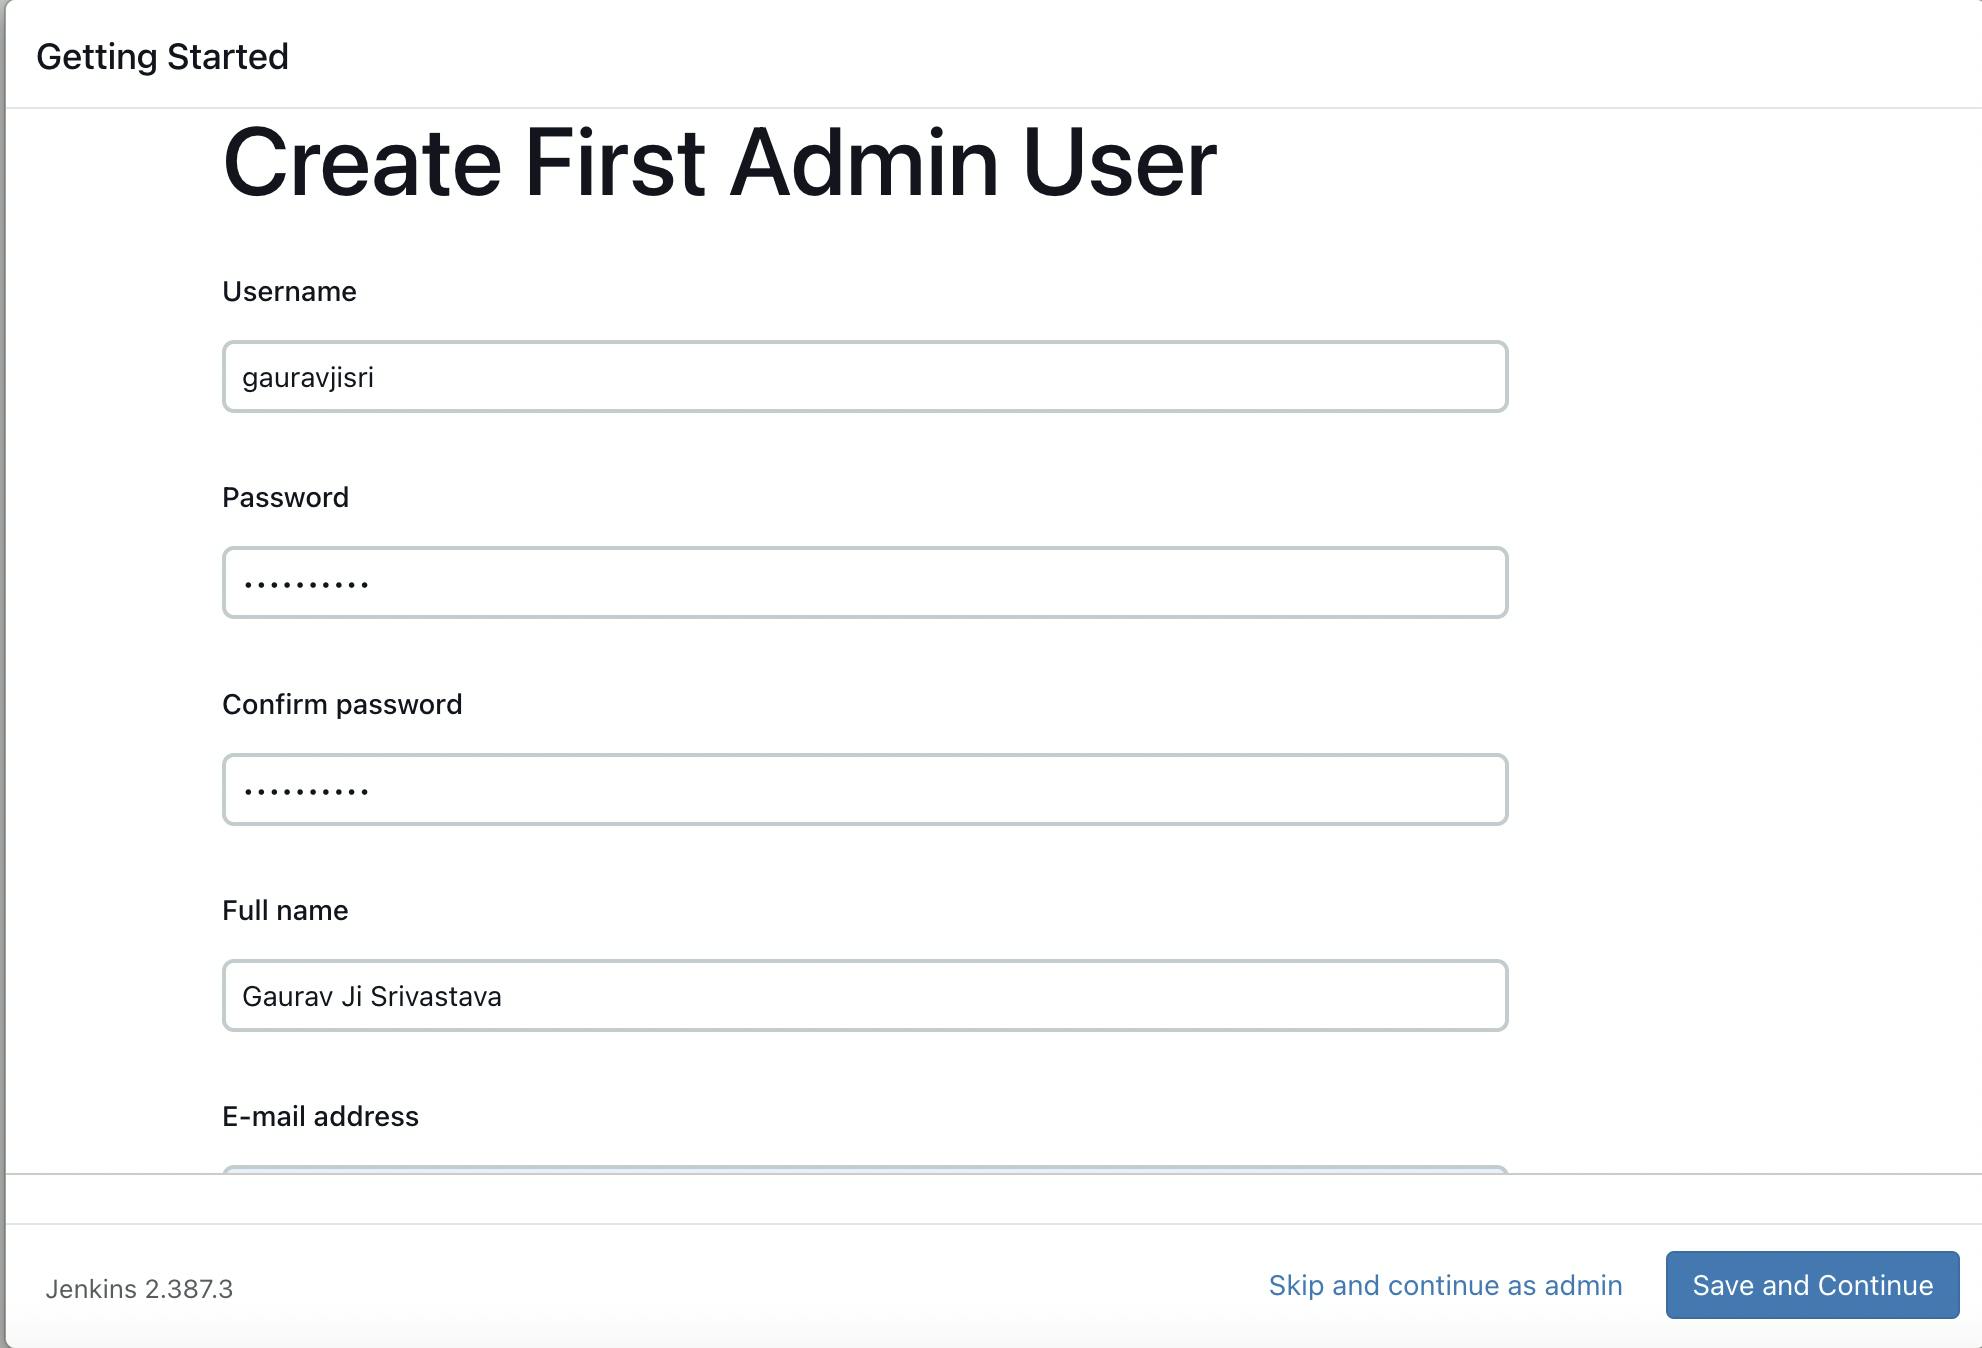
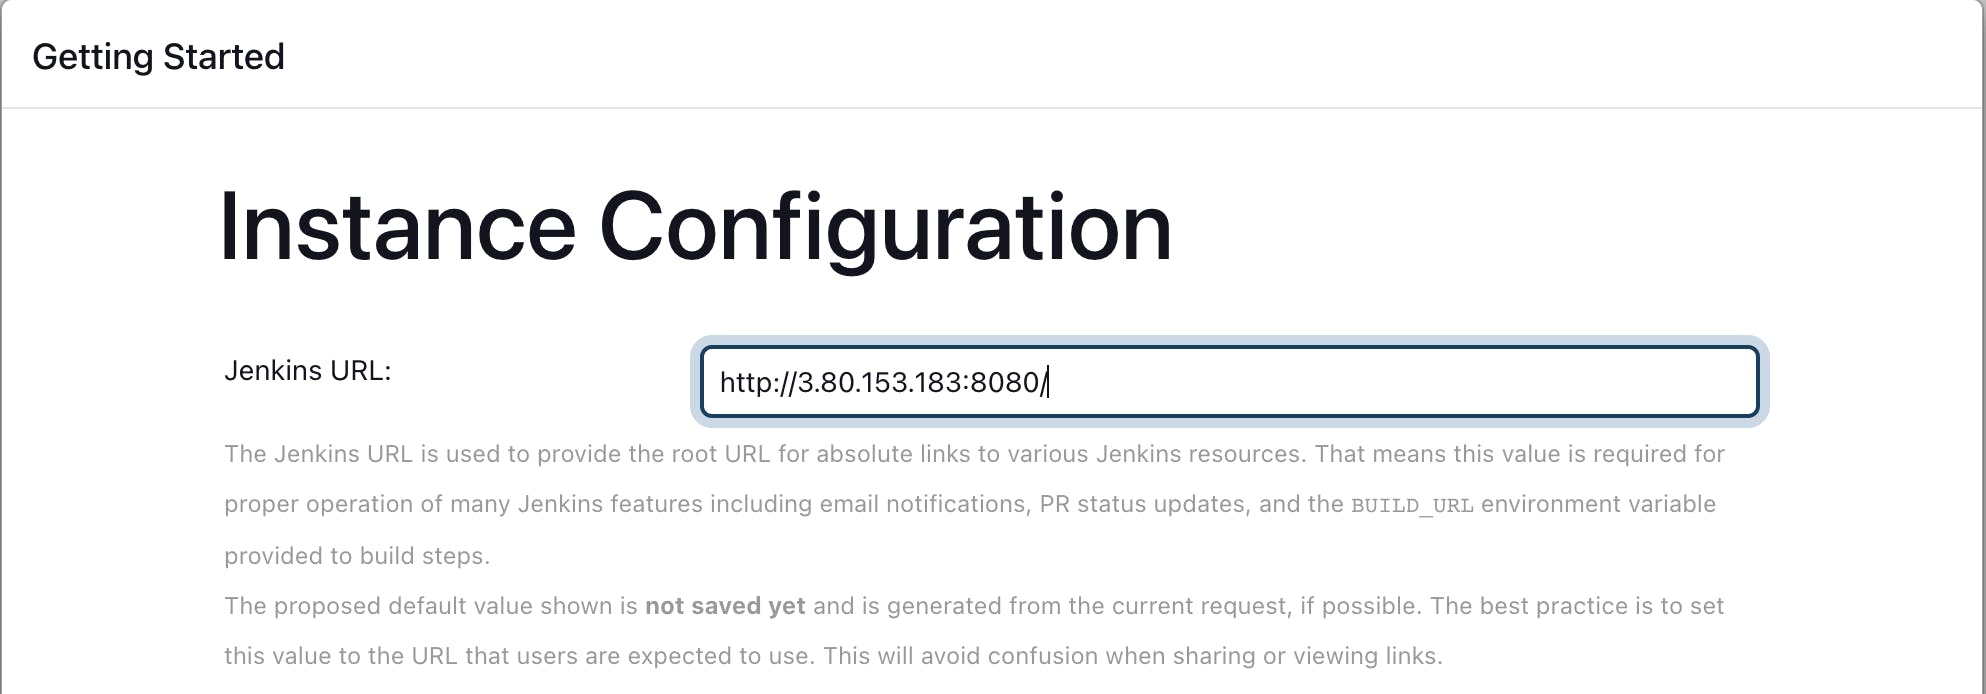
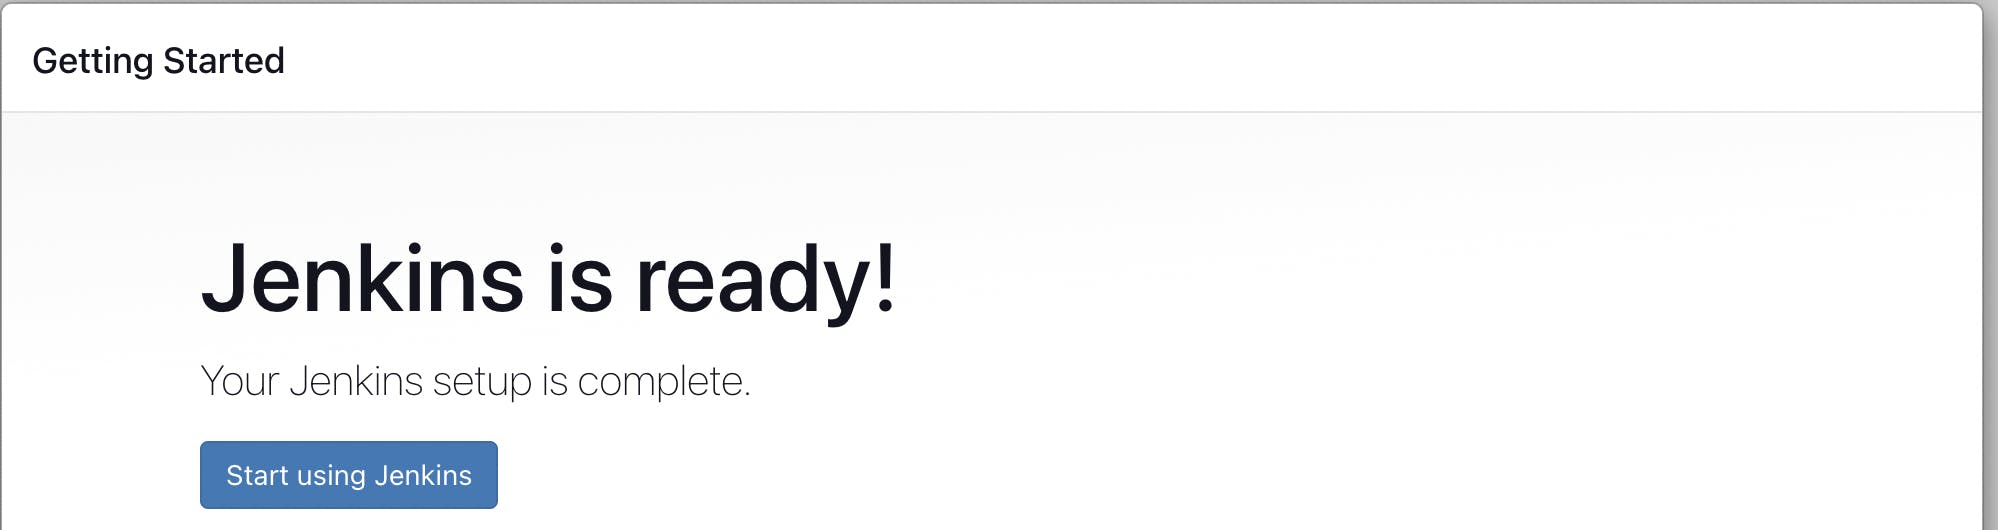
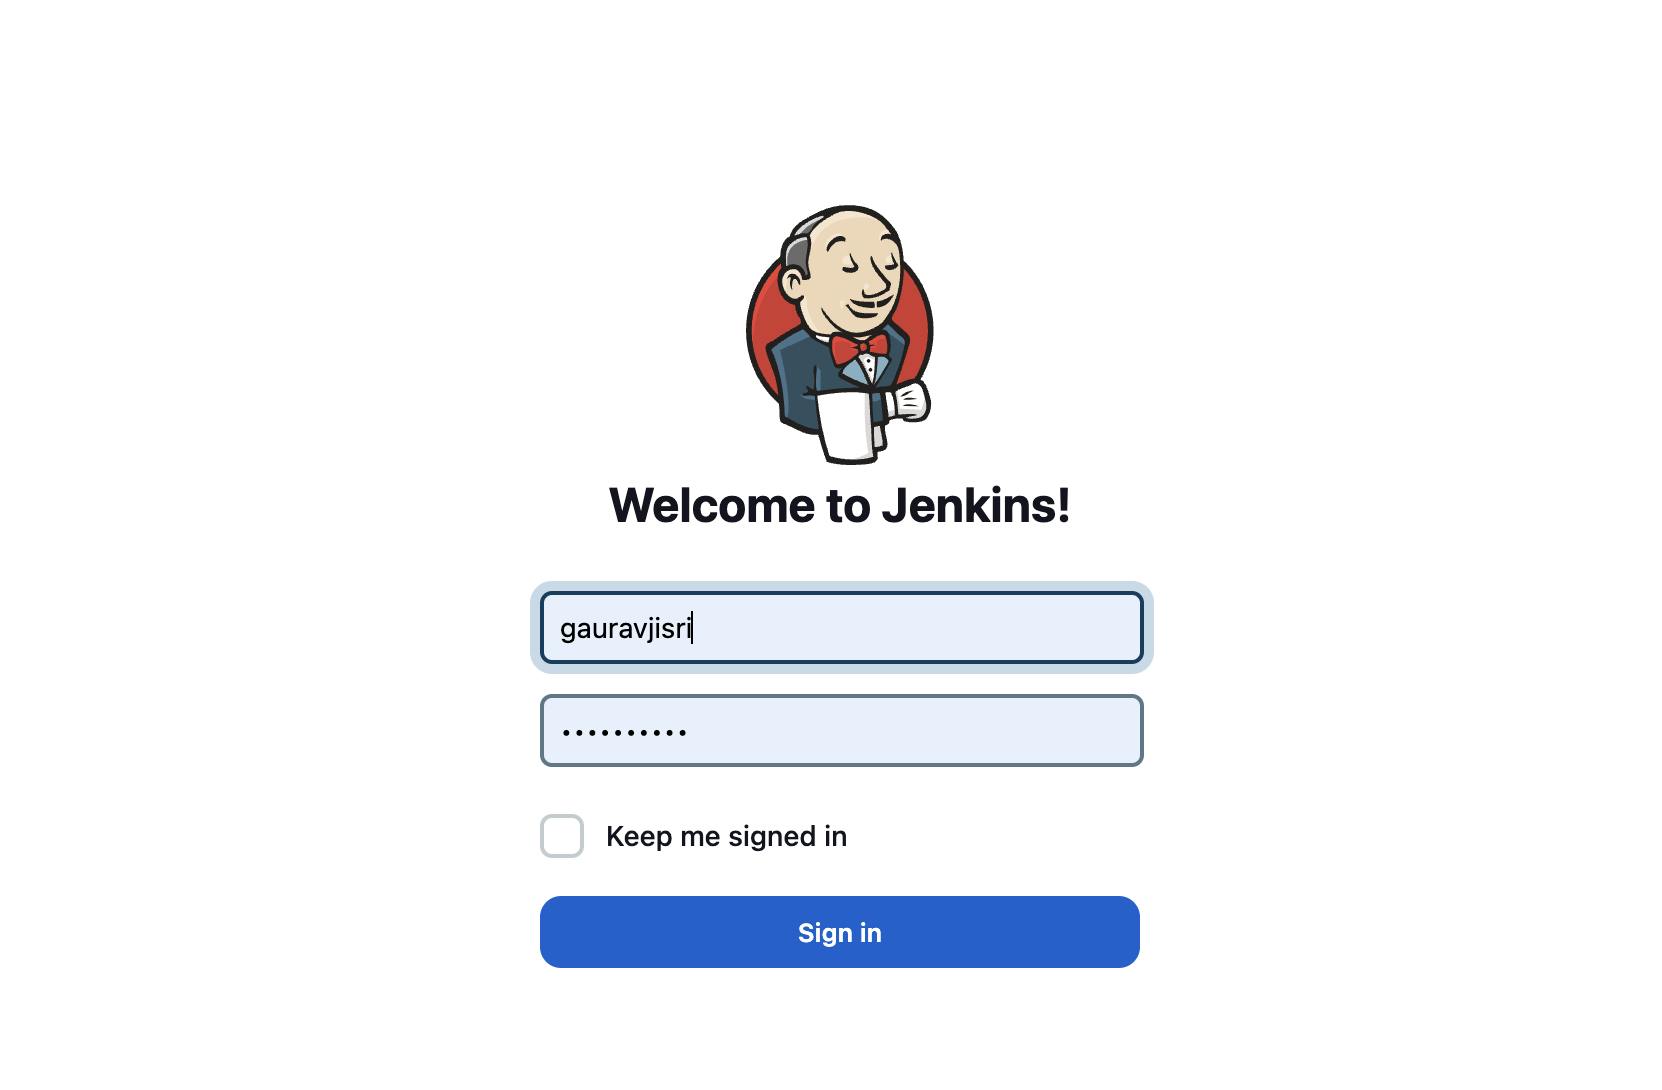
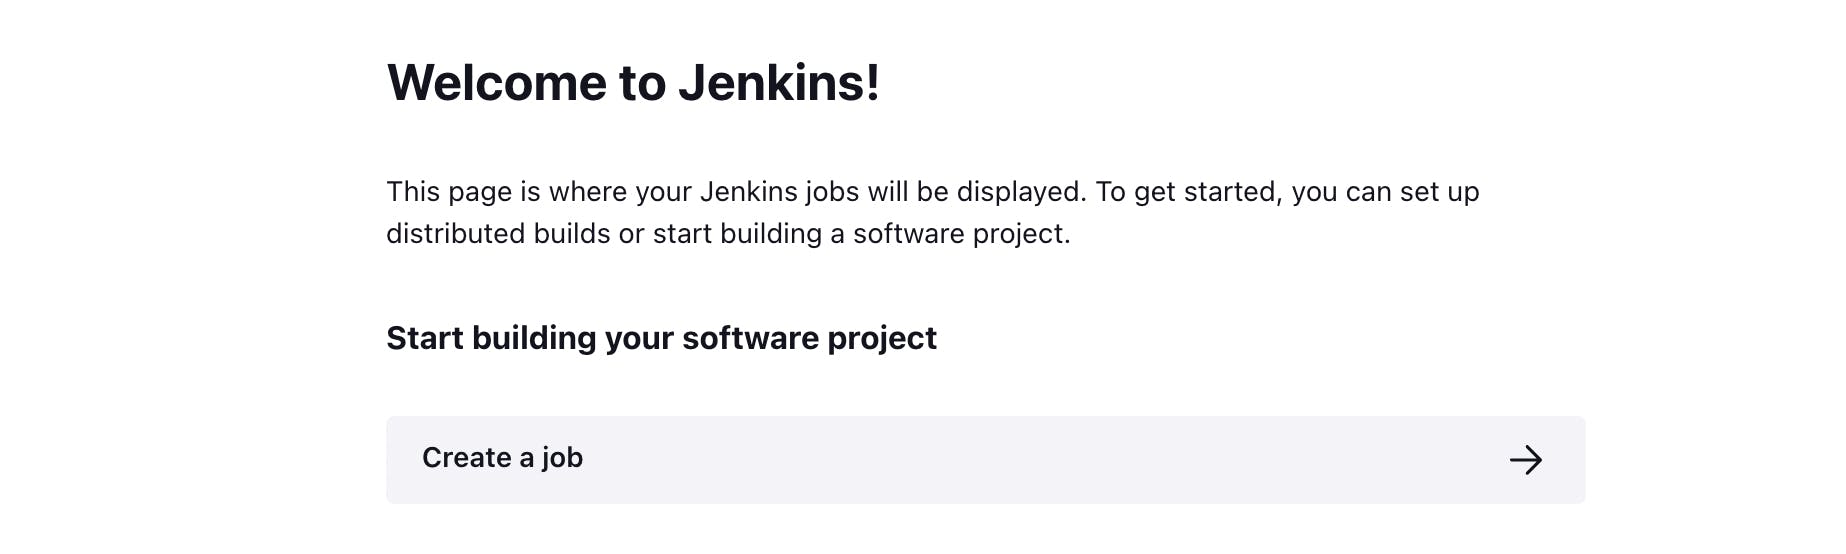
Working on a Freestyle Django Project :
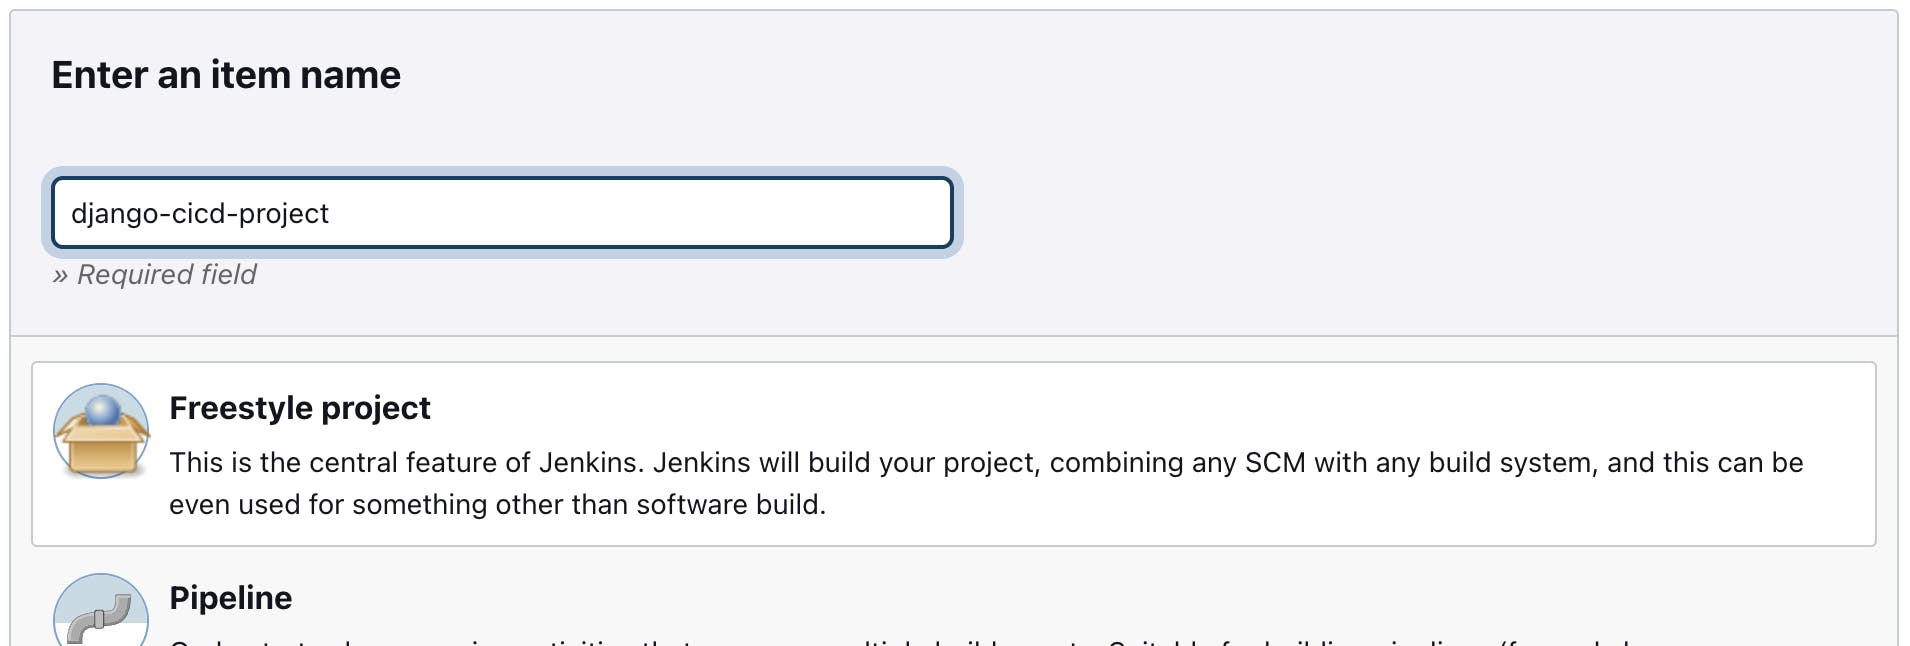
Create a job :
Select Freestyle project and give the name :
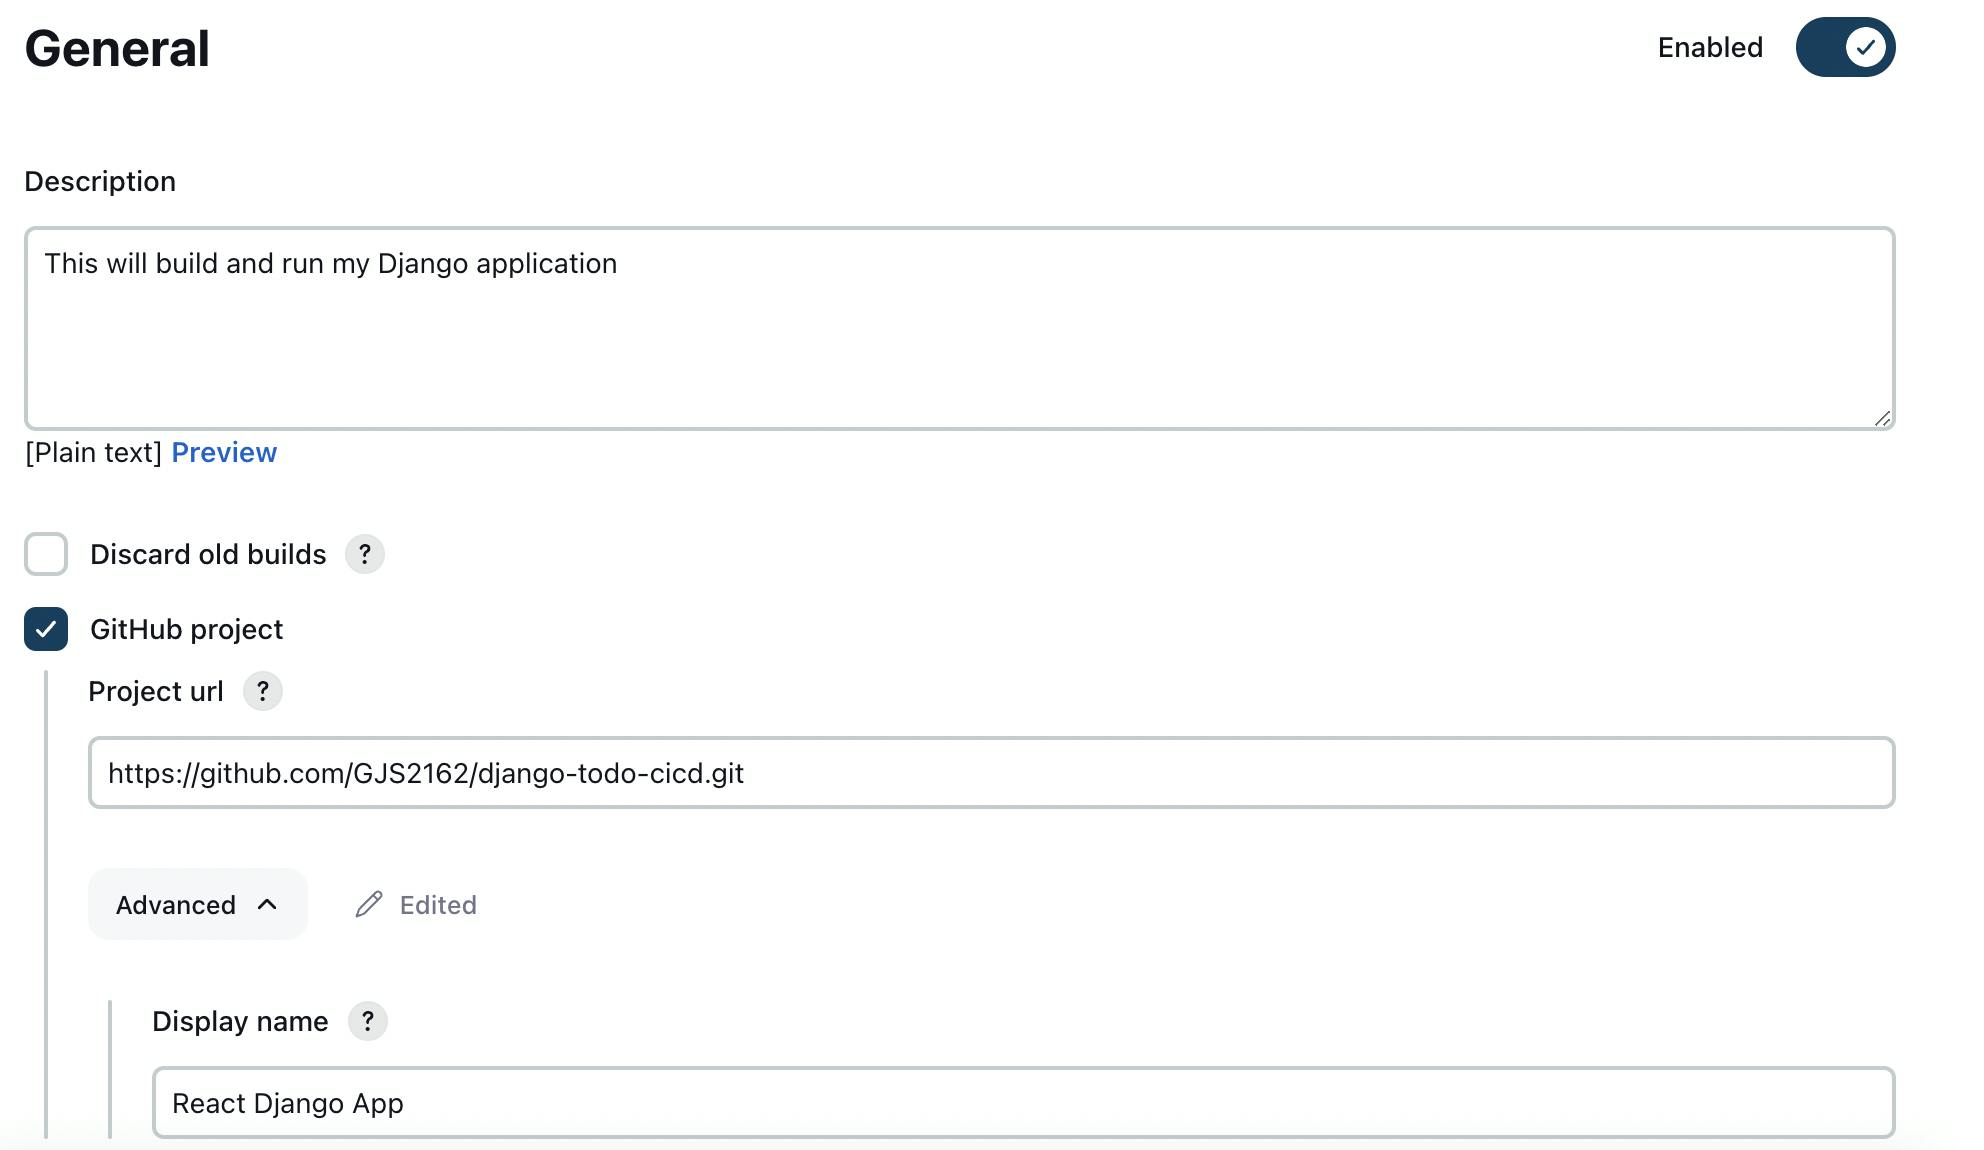
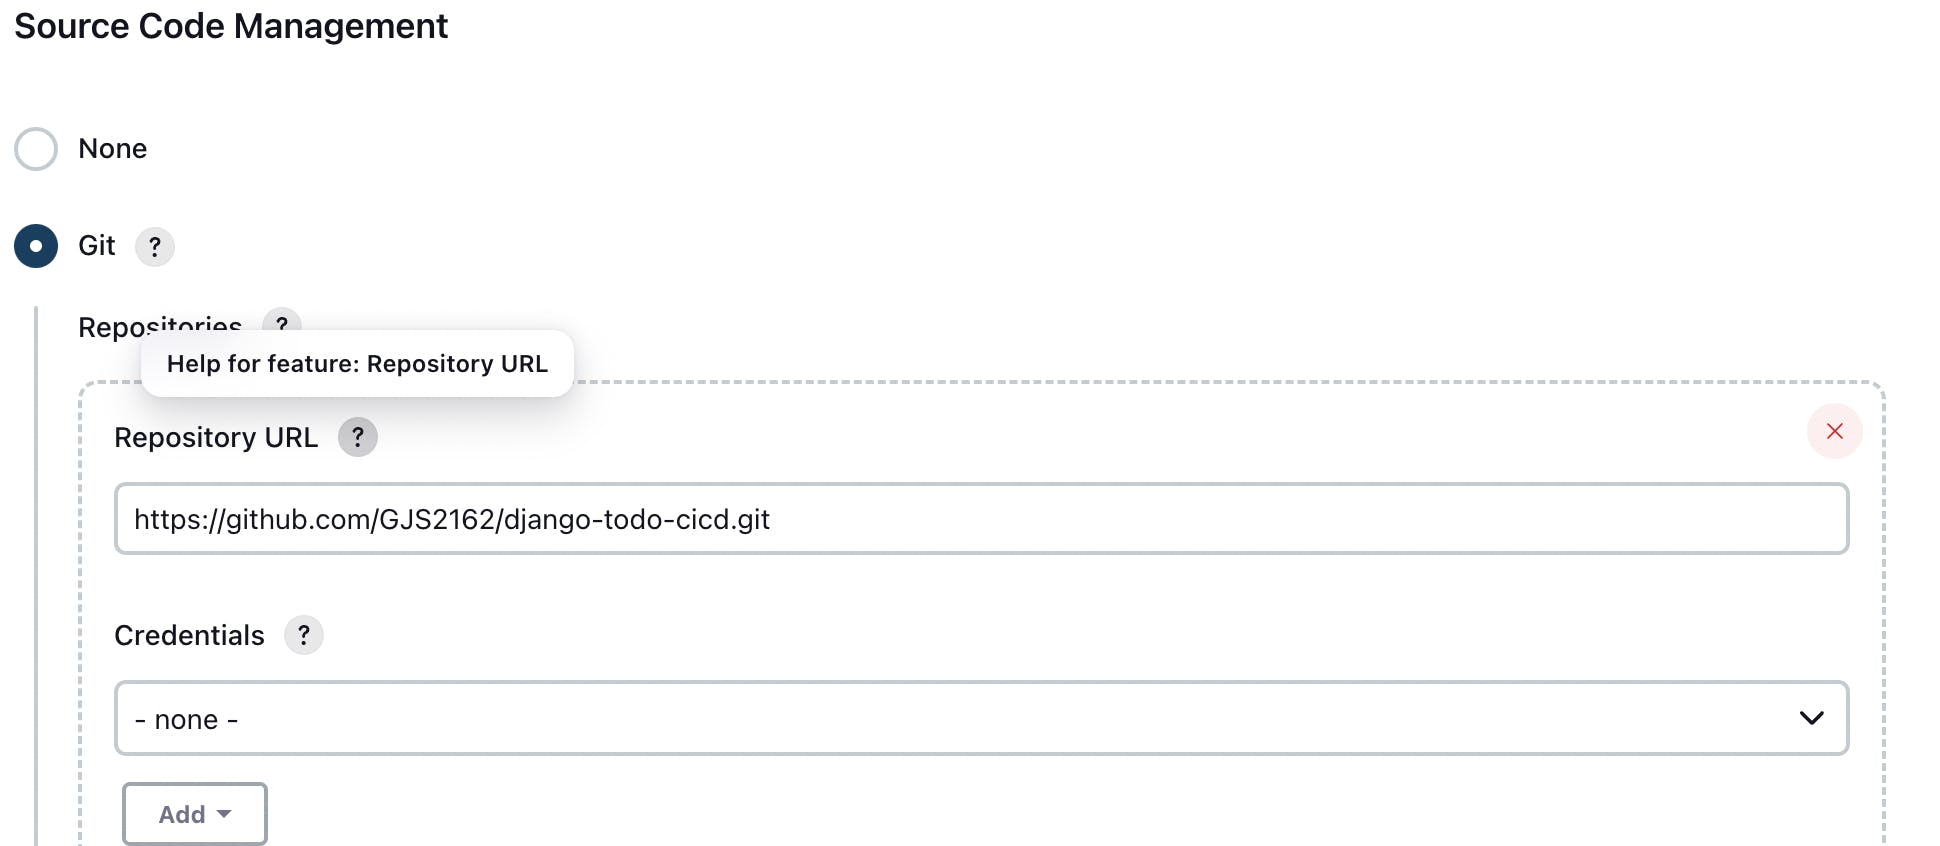
Provide the following info :

Click on save then click on Build now :

You will see that job #1 failed :

It is because Docker is not installed on your instance :

Follow this blog to install docker on your Amazon EC2 :
Also, install docker-compose :
sudo apt-get install docker-composeNow log into Jenkins again :
Now build again, and you will find another error like this :

Now add jenkins (user) to docker (group) :
sudo usermod -aG docker jenkins
sudo reboot
The build is successful :

Add the following inbound rule :

Now go to the browser and type <Public IPv4 address>:8000
Webhooks :
A GitHub webhook is a feature that allows you to automatically trigger events in external systems or services whenever certain actions or changes occur in a GitHub repository. Webhooks provide a way to receive real-time notifications about activities such as code pushes, pull requests, issues, releases, and more.
When you set up a webhook for a GitHub repository, you provide a URL endpoint in an external system where GitHub can send HTTP POST requests with payload data whenever the specified events occur. The payload typically contains information about the event, such as the repository name, the user who triggered the event, and details specific to the event type.
What is Jenkins Pipeline?
Jenkins Pipeline (or simply "Pipeline" with a capital "P") is a suite of plugins that supports implementing and integrating continuous delivery pipelines into Jenkins. It allows you to define and automate the entire software delivery process, from version control to deployment.
Declarative pipeline :
A declarative pipeline is a feature of Jenkins that provides a more structured and simplified way to define pipelines as code compared to the older Scripted Pipeline syntax.
With a declarative pipeline, you define your build pipeline using a Groovy-based DSL (Domain-Specific Language) that is designed to be more human-readable and concise. It focuses on the high-level structure and flow of the pipeline, making it easier to understand and maintain.
Working on a Node.js project with a declarative pipeline :
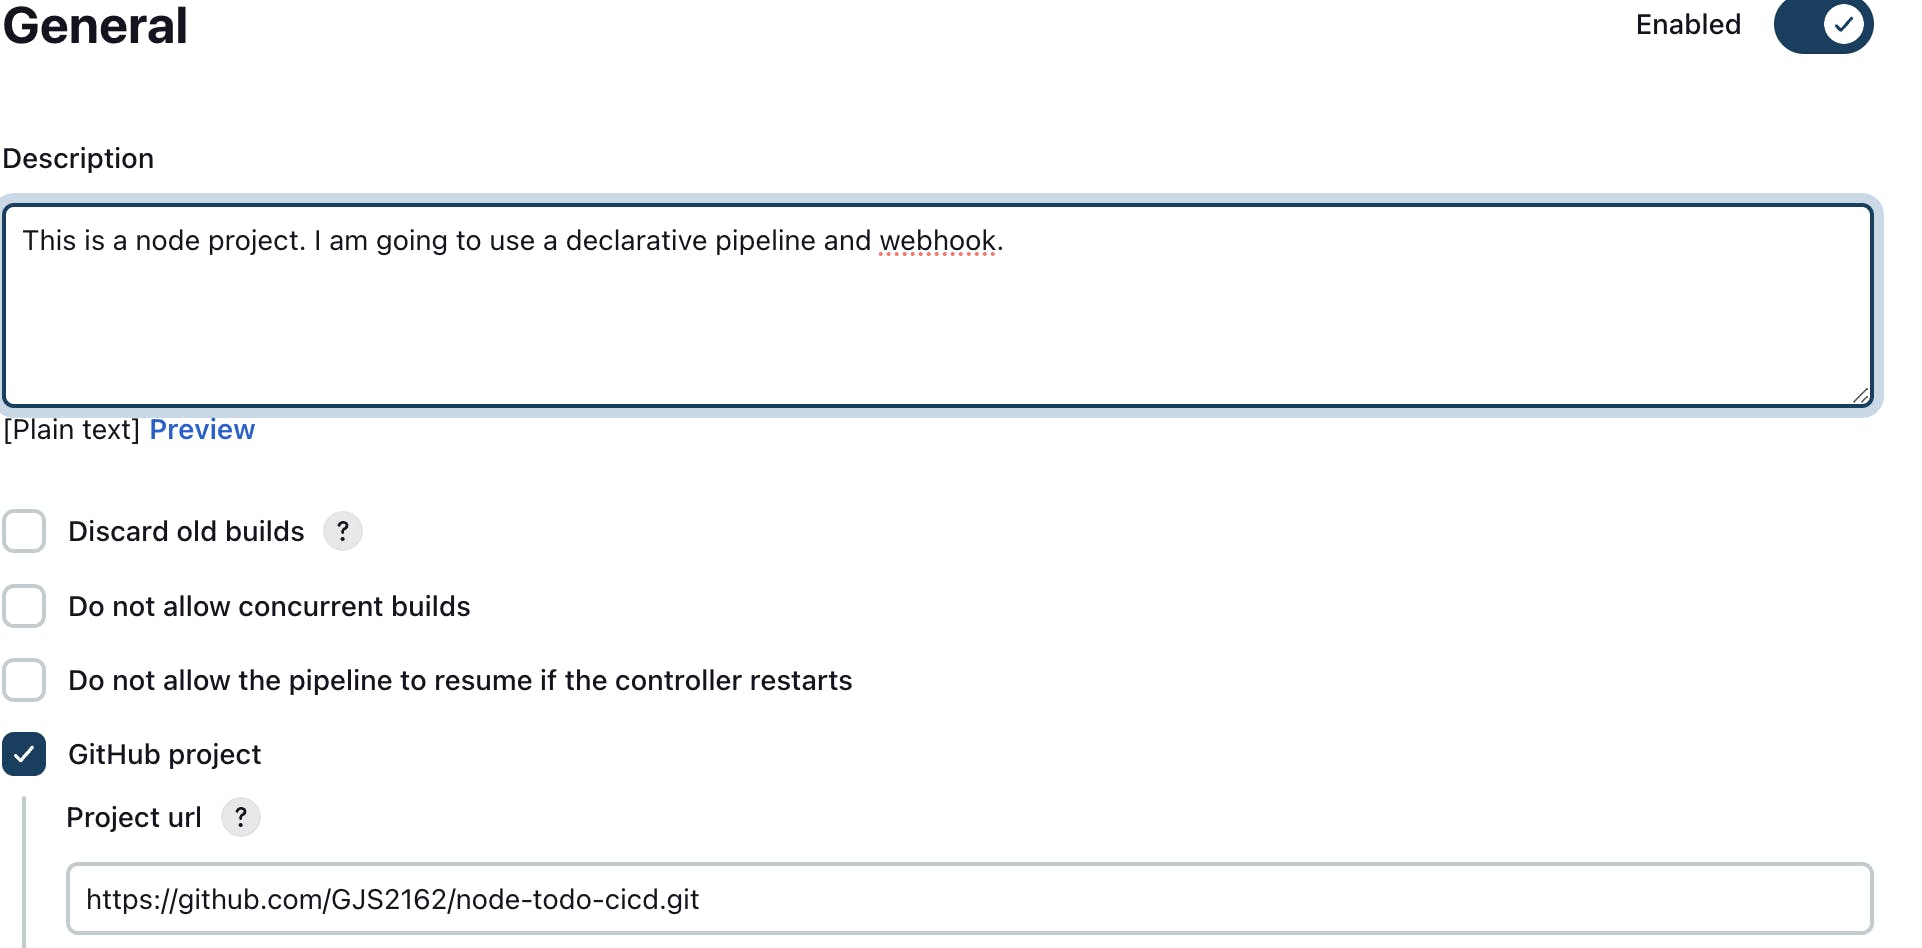
Create a new item with the following details :


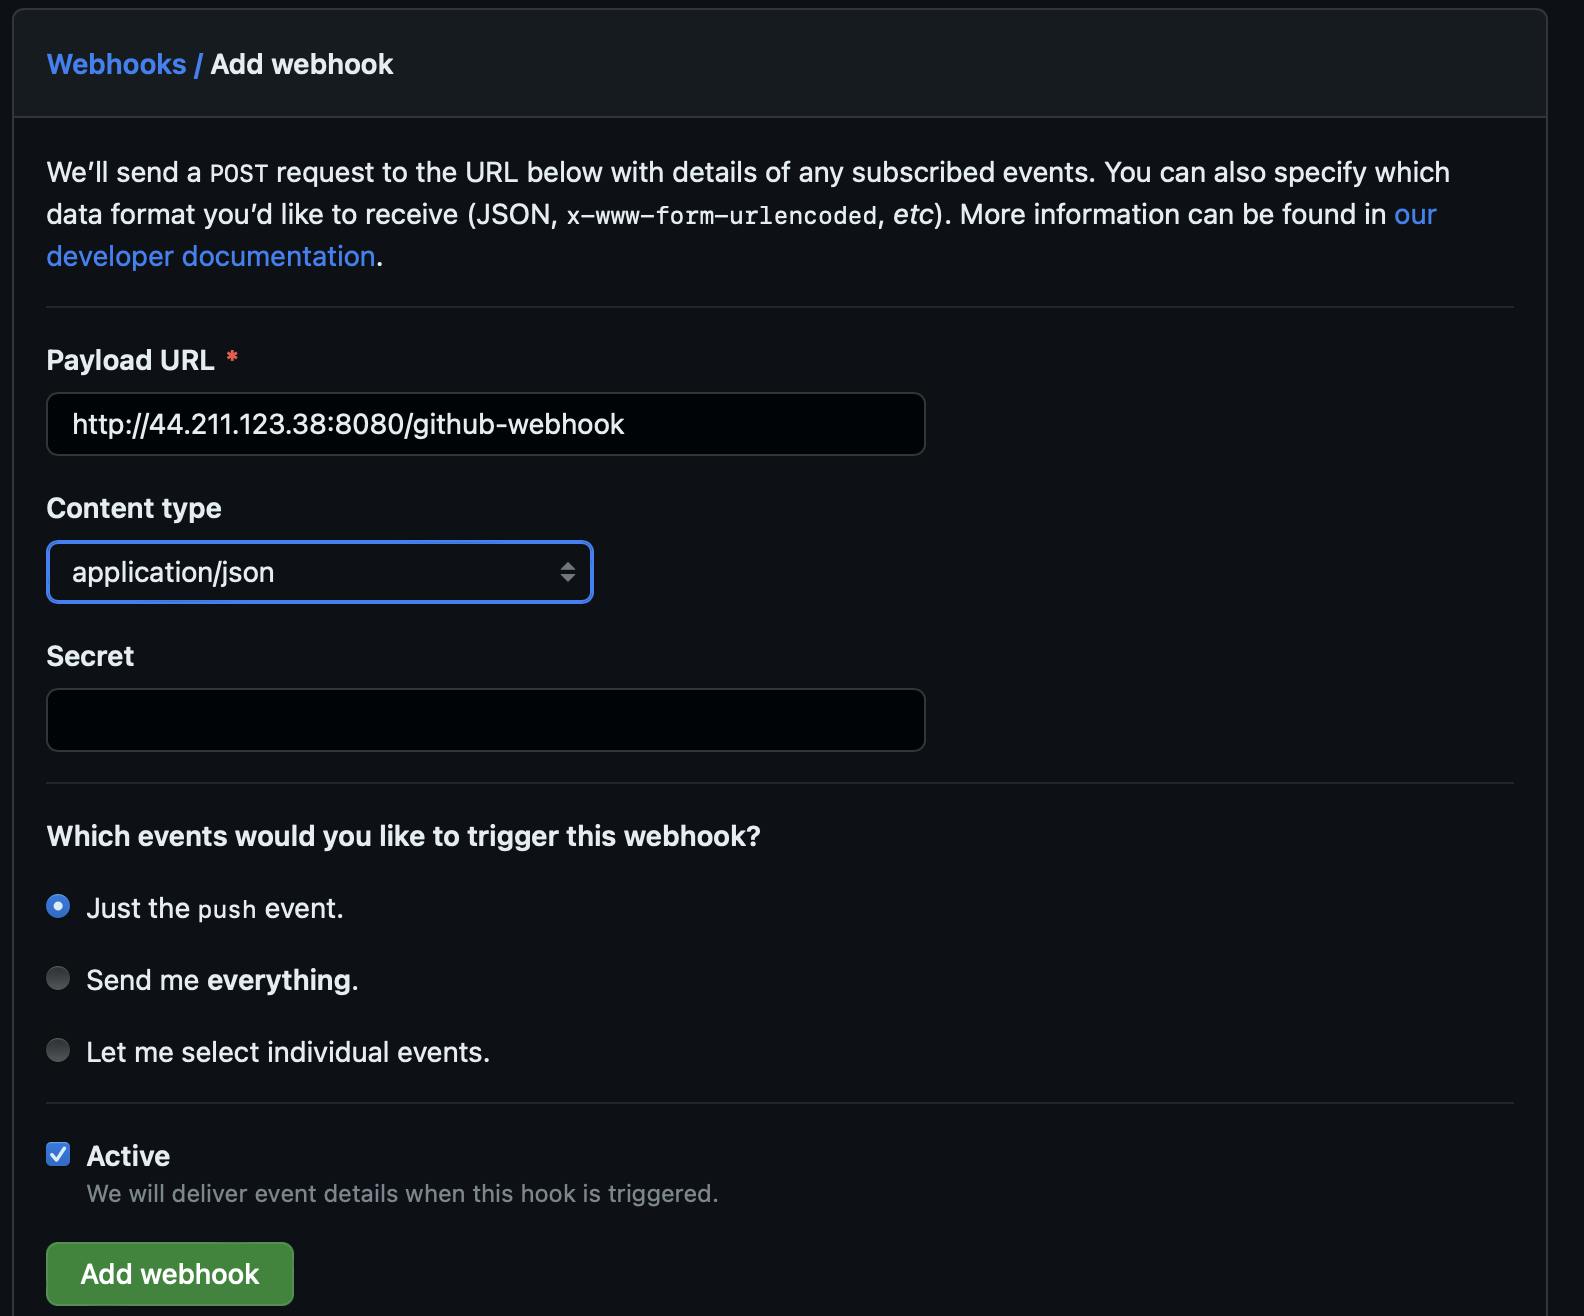
Follow the steps to create a GitHub Webhook:
Go to Settings of the repository :

Go to Webhook and click on Add Webhook :

Fill in the following details :
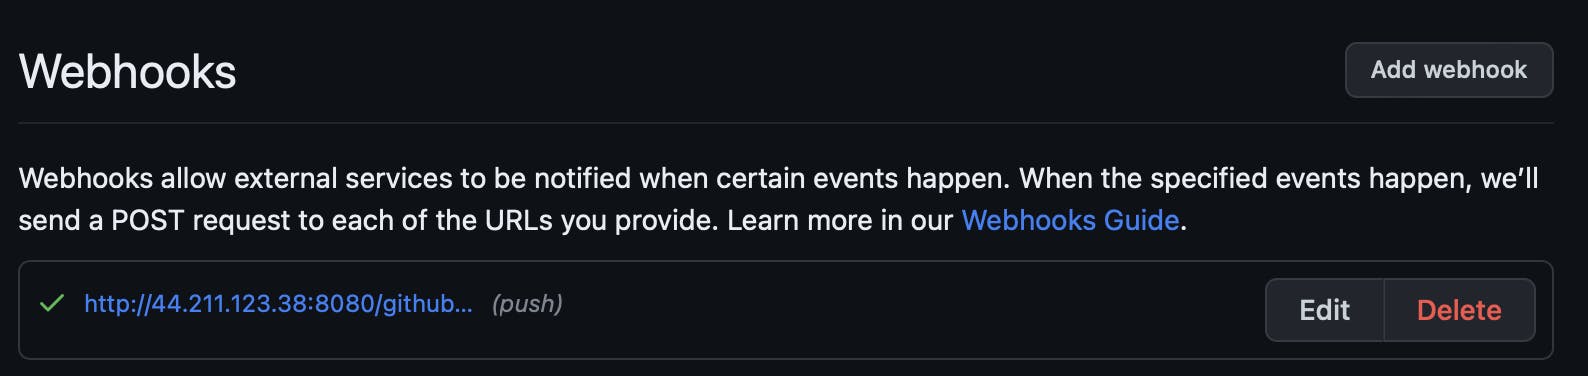
If the Webhook is created Properly then you will see a green tick:
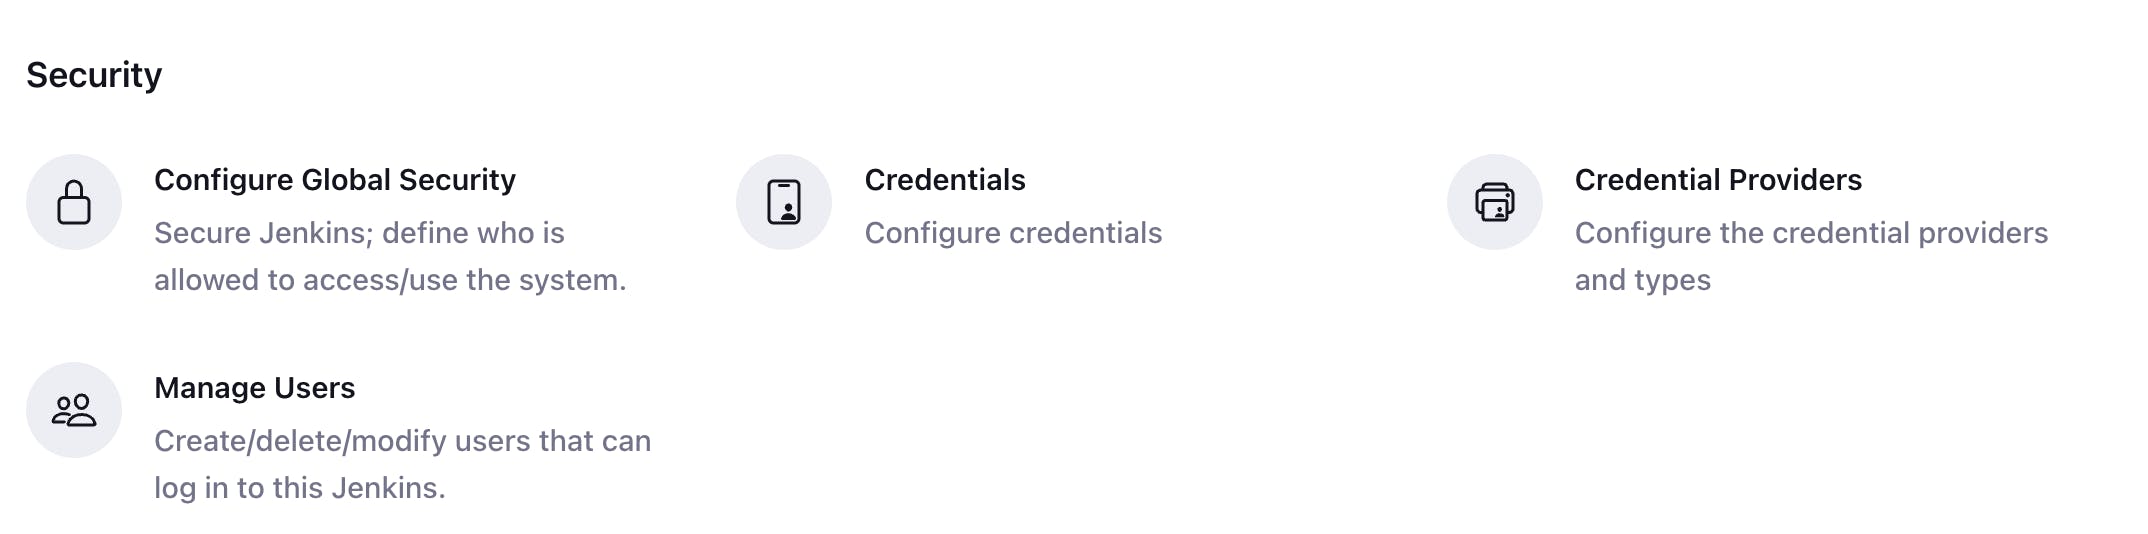
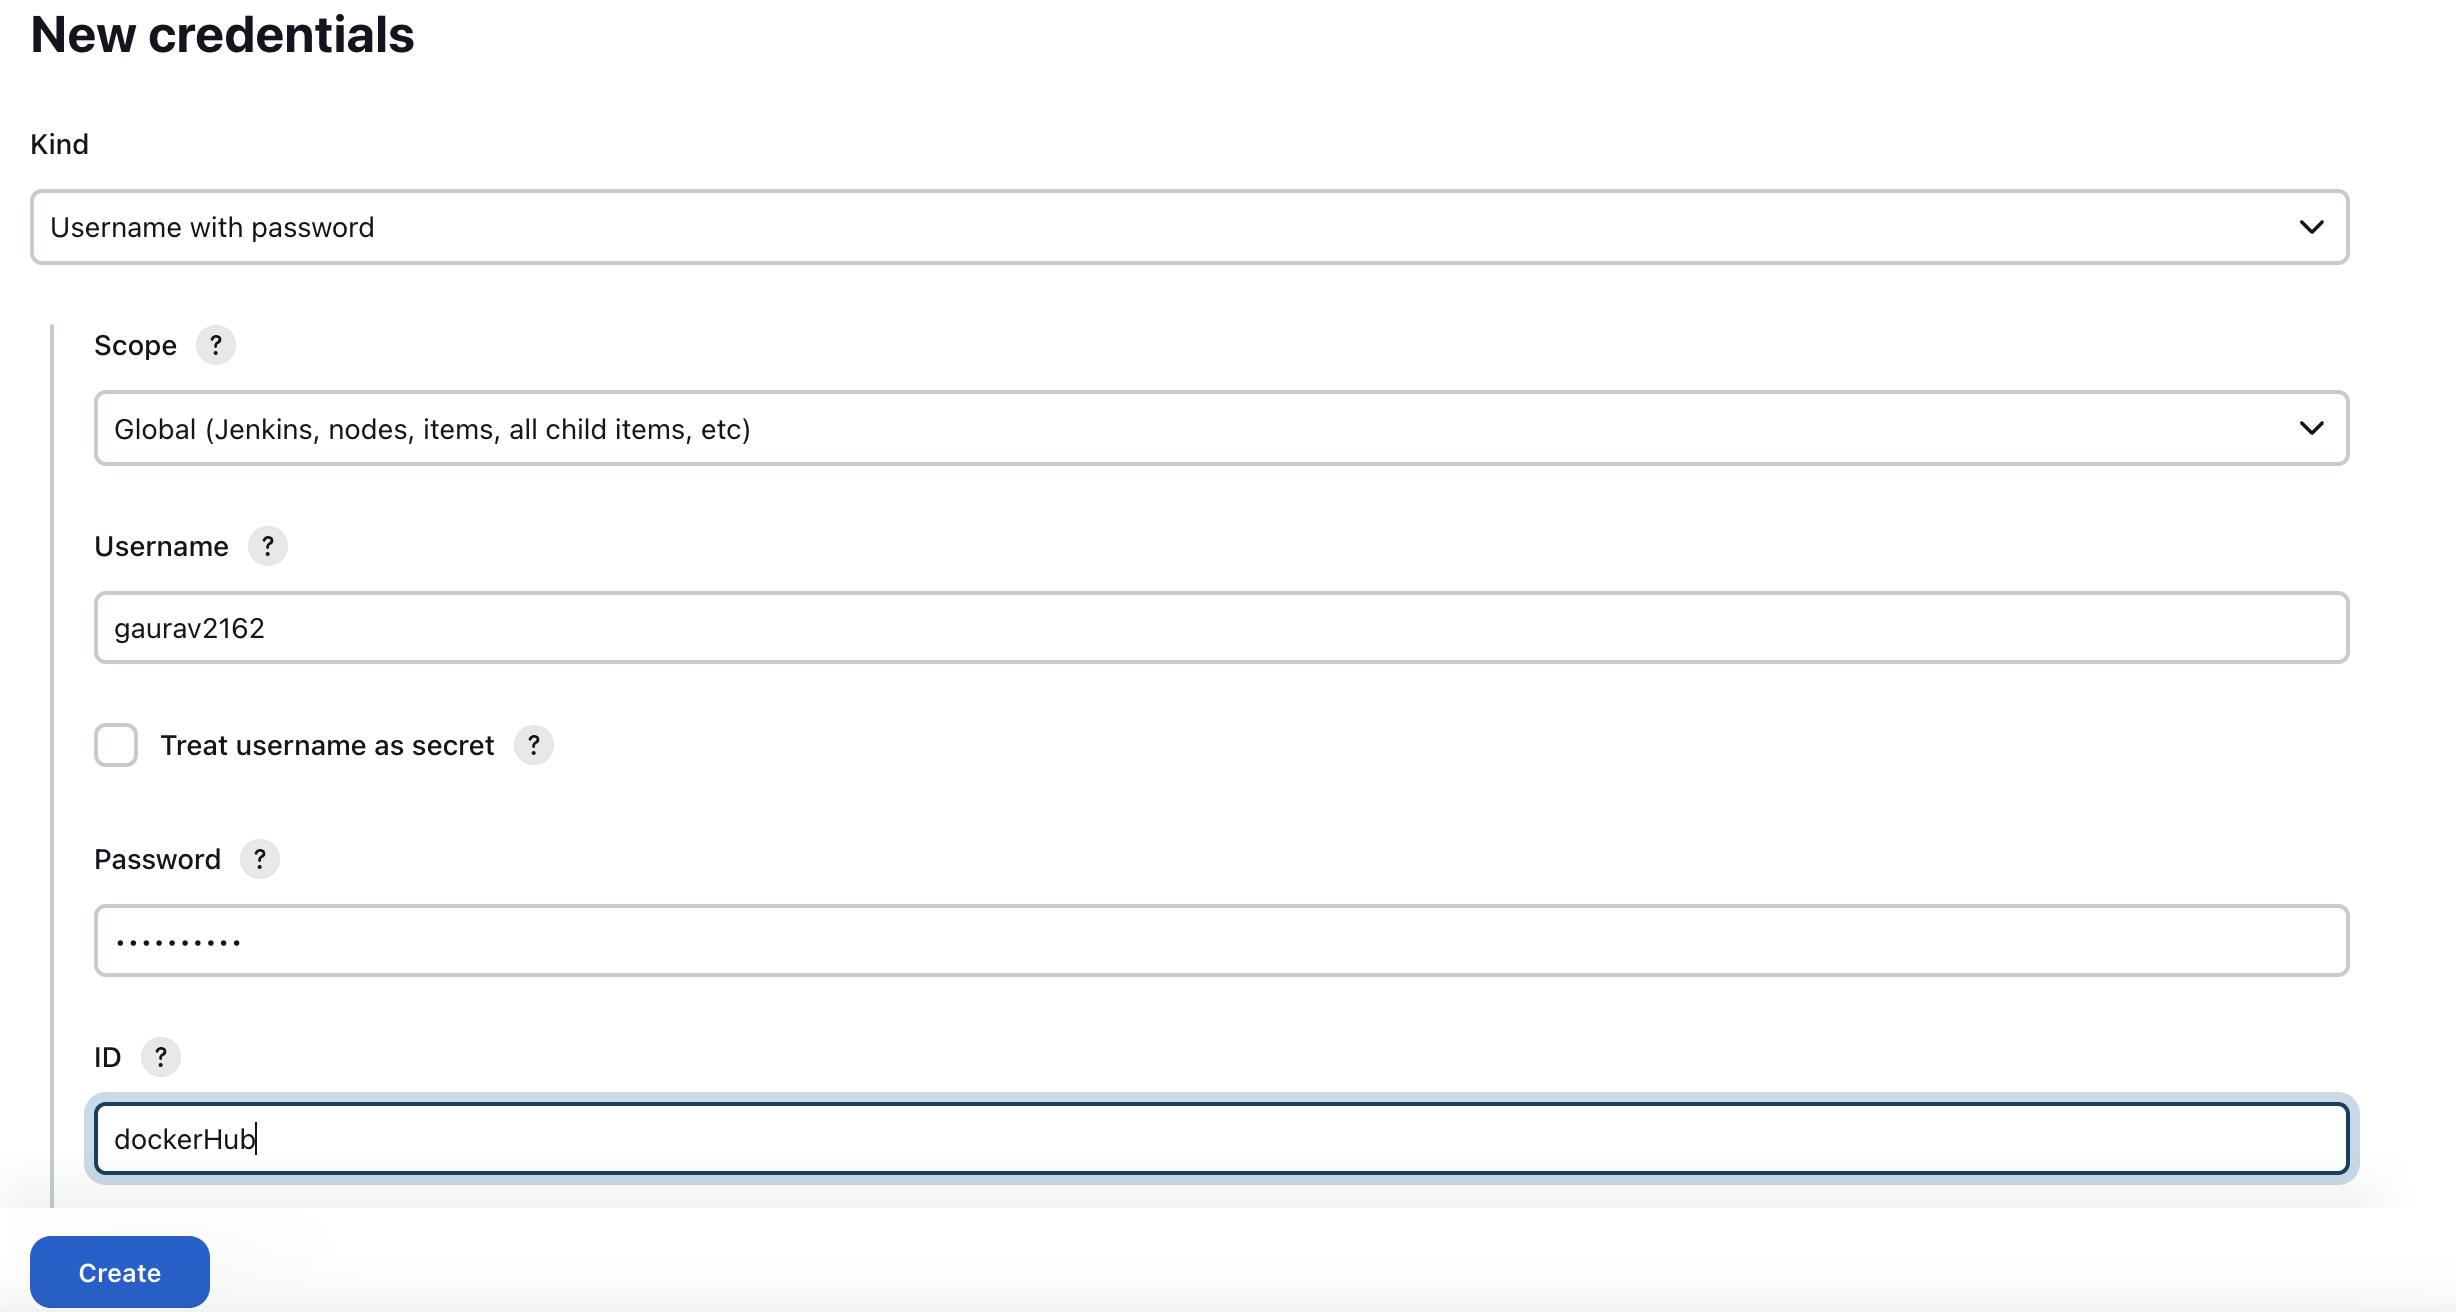
Follow the steps to make Credentials for dockerhub:
Go to Manage Jenkins and select Credentials
Click on global :

Click on Add Credentials :

Fill in the details of your dockerHub account :
Your credentials are ready to use:

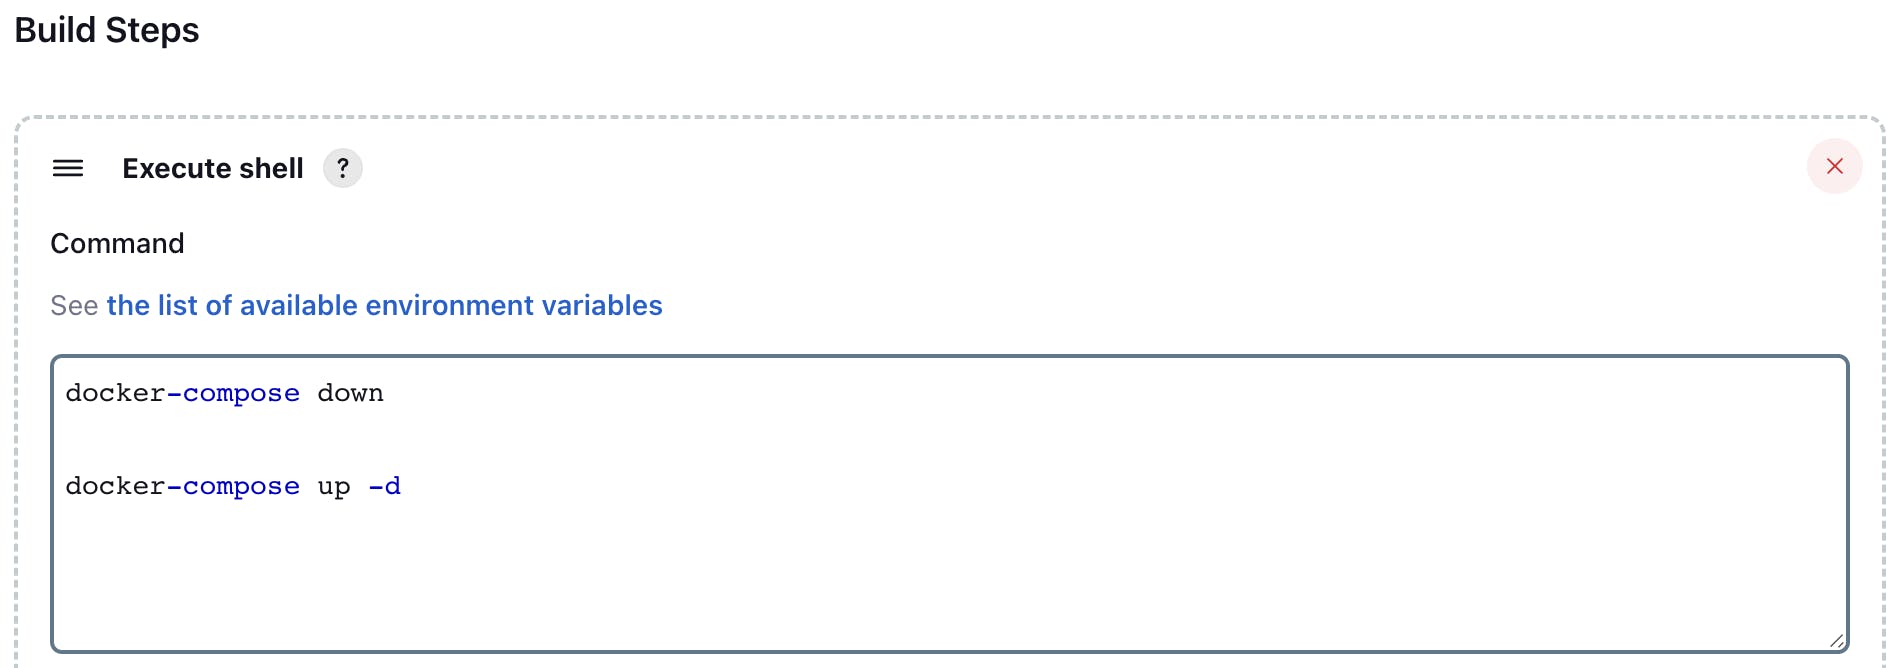
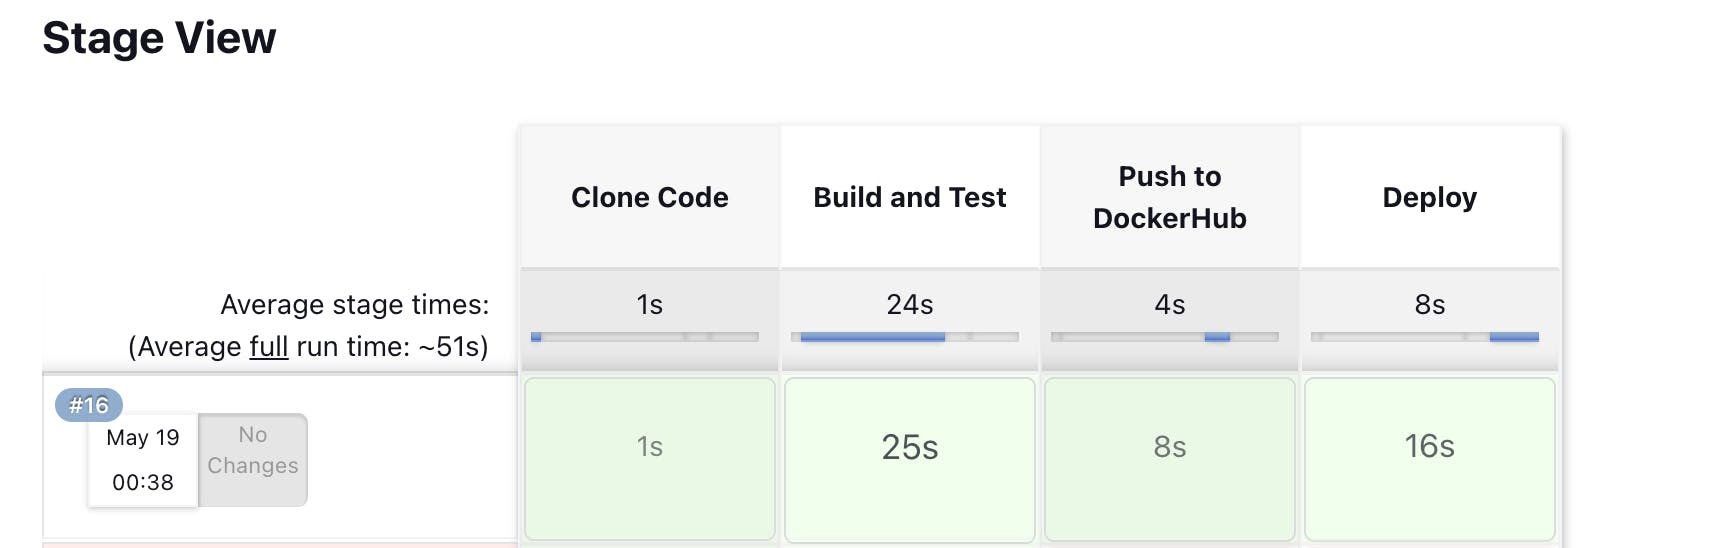
Writing the declarative pipeline:

pipeline {
    agent any
    stages {
        stage("Clone Code") {
            steps {
                echo "Clone the Code"
                git url: "https://github.com/GJS2162/node-todo-cicd.git",
                branch: "master"
            }
        }
        stage("Build and Test") {
            steps {
                echo "Build and Test"
                sh "docker build . -t node-proj"
            }
        }
        stage("Push to DockerHub") {
            steps {
                echo "Here we will write code to push the image to Dockerhub by using withCredentials"
                withCredentials([usernamePassword(credentialsId:"dockerHub",passwordVariable:"dockerHubPass",usernameVariable:"dockerHubUser")]){
                sh "docker image tag node-proj ${env.dockerHubUser}/node-proj:latest "
                sh "docker login -u ${env.dockerHubUser} -p ${env.dockerHubPass}"
                sh "docker push ${env.dockerHubUser}/node-proj:latest"
            }
            }
        }
        stage("Deploy") {
            steps {
            echo "Deploying to the server"
                sh "docker-compose -f docker-compose.yaml down"
                sh "docker-compose -f docker-compose.yaml up -d"

                }
        }
    }
}
Now click on save then Build now :
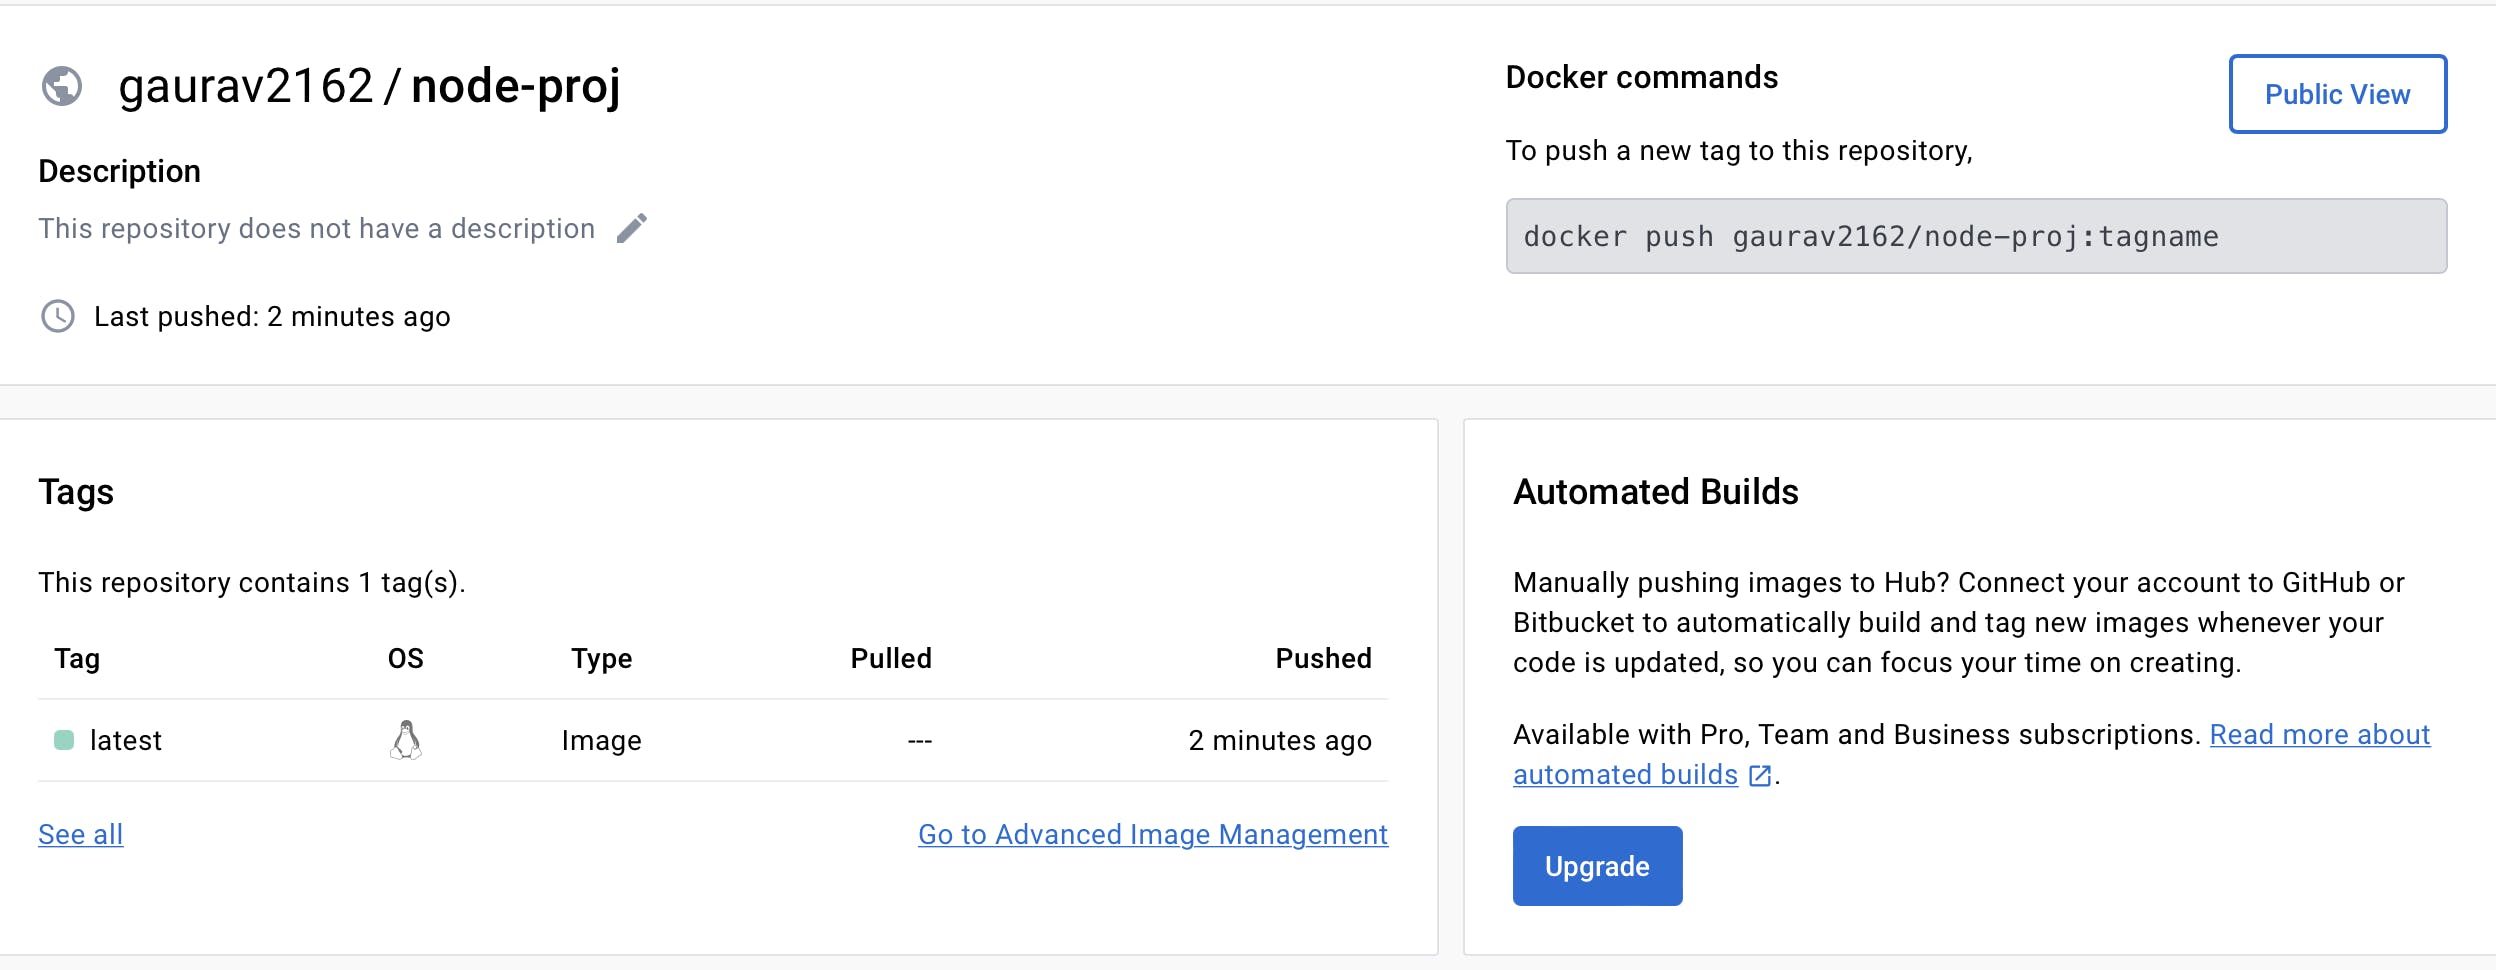
You can check dockerhub for the pushed image :
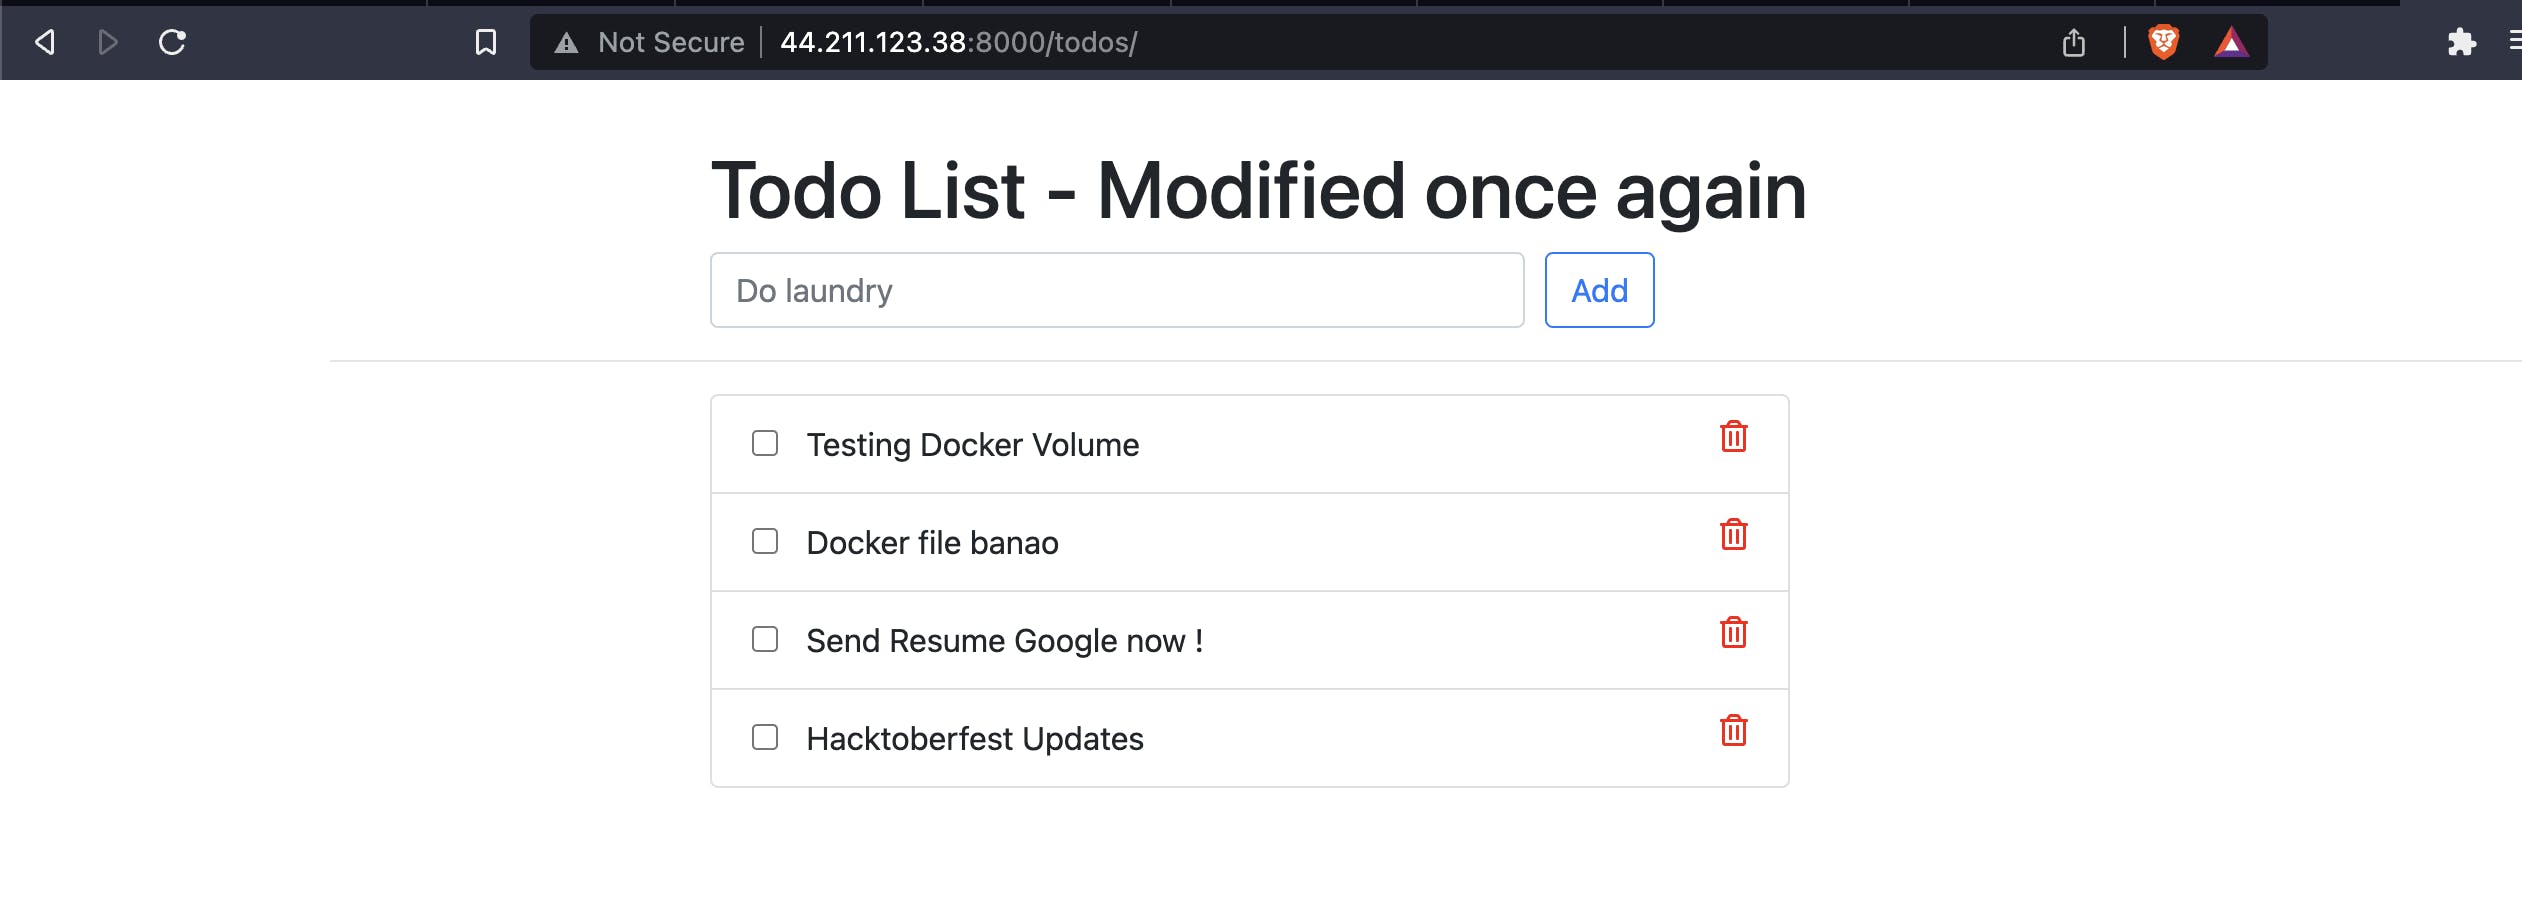
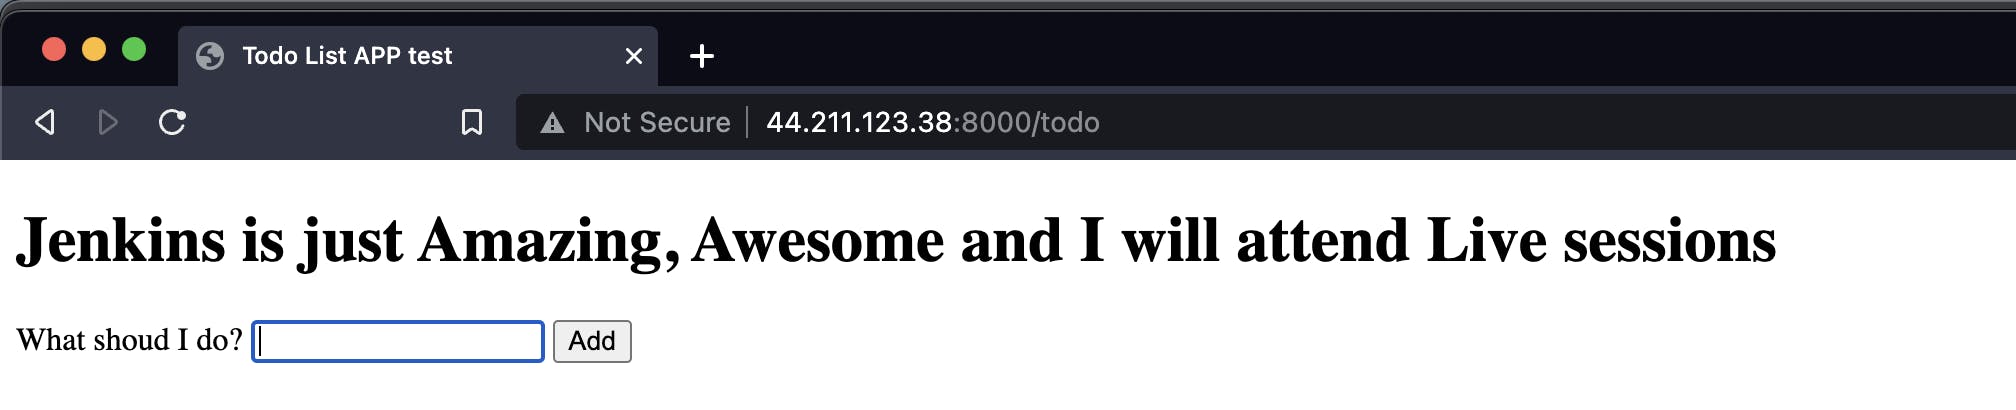
Now go to the browser and type <Public IP address of instance>:8000
Thank you :
Dear readers,
I want to express my heartfelt gratitude for your continuous support and engagement with my blog. Your readership and valuable feedback have been instrumental in shaping the content and direction of my writing. Thank you for being a part of this journey and for inspiring me to keep sharing my thoughts and ideas. Your presence means the world to me, and I am truly grateful for your unwavering support.
Warmest regards, Gaurav Ji Srivastava